📑 Table of Contents ▶
Crispy Rice Bites
In the kitchen, memories often linger in the scents and flavors of favorite dishes. Crispy rice bites carry a nostalgic weight, exciting the palate and evoking those cozy moments spent around the dining table. Each bite holds a little crunch, salty goodness, and an invitation to celebrate simplicity in cooking.
Creating crispy rice bites transforms leftover sushi rice into delicious morsels bursting with flavor. When I think back to family gatherings, I remember devouring these crispy delights, loaded with sushi toppings. The joy of sharing good food with loved ones never goes out of style, and making these bites feels just like home.
Whether you experiment with avocado, spicy tuna, or fresh scallions, these rice bites offer a canvas for creativity. With just a few essential ingredients and straightforward preparation, you can craft an appetizer that satisfies cravings and brings a taste of sushi right to your table.
Let’s dive into making these crispy rice bites—where every crunch tells a story and each topping adds a personal touch.
Crispy Rice Bites
Fundamentals
Transforming leftover short-grain sushi rice into crispy rice bites begins with understanding basic techniques. This recipe uses a combination of soy sauce, sesame oil, and a bit of salt to enhance the rice’s natural flavors. Ensuring that the rice clumps together helps maintain its shape during cooking, ensuring each bite retains that coveted crispiness.
Short-grain sushi rice contains more starch than other types of rice, making it perfect for holding its shape while frying. This characteristic plays a crucial role in achieving the ideal texture. When fried, the rice forms a deliciously crispy exterior, contrasting beautifully with the soft texture inside.
Preparation/setup
Prepare your workspace before diving into cooking. The process begins with taking 2 cups of leftover short-grain sushi rice, allowing it to come to room temperature if it’s been stored in the fridge. This slight warming makes it easier to work with and helps achieve a consistent crunch when frying.
Choose a small baking dish to press the rice into an even layer. This step is crucial for consistency. After pressing, cut the rice into squares or rectangles to facilitate frying. Having everything prepped not only speeds up the cooking process but also makes cleanup easier afterward.
Ingredients
Using quality ingredients will elevate the flavors of your crispy rice bites. Gather the following:
- 2 cups leftover short-grain sushi rice
- 1 tbsp soy sauce
- 1 tsp sesame oil
- Salt, to taste
- Oil for frying
- Toppings of choice (avocado, spicy tuna, scallions)
With these ingredients ready, the creativity starts!
Directions
- In a bowl, mix the leftover rice with soy sauce, sesame oil, and salt until well combined. Ensure the seasoning permeates the rice evenly.
- Press the rice mixture into a flat, even layer in a small baking dish. A firm press guarantees the rice holds together during frying.
- Cut the pressed rice into squares or rectangles with a sharp knife. Get creative with your shapes; uniform pieces will cook evenly.
- Heat oil in a skillet over medium heat. This temperature ensures the rice crisps up without burning.
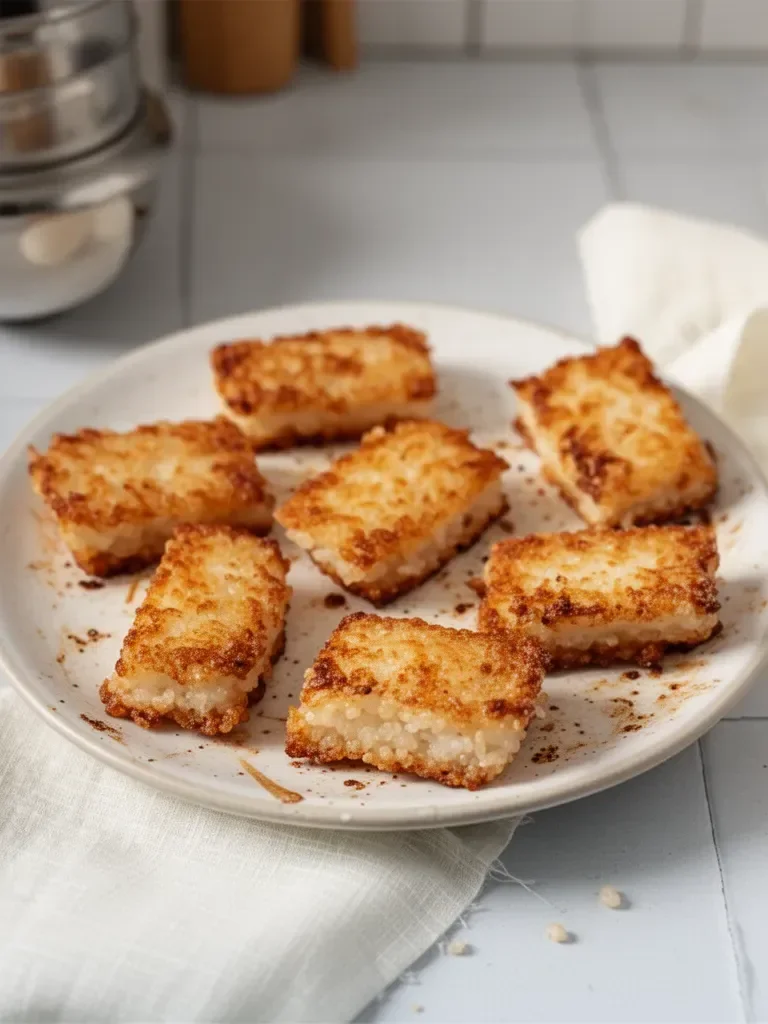
- Carefully add the rice squares to the skillet. Fry until they turn crispy and golden brown on both sides. This usually takes about 3-4 minutes per side.
- Remove from the skillet and let drain on paper towels. This step absorbs excess oil and keeps your bites light and crisp.
- Serve topped with your favorite sushi toppings. Experiment with flavors and textures to create a unique dining experience.
Variation Techniques for Crispy Rice Bites
Technique
The frying technique significantly impacts the outcome of your crispy rice bites. Maintaining medium heat allows for a perfect balance of cooking, providing an exterior crisp while the inner portion remains fluffy. To further enhance crunchiness, consider using a non-stick skillet to prevent sticking and ensure an even fry.
Another technique is ensuring your rice mixture is uniformly packed when pressing into the baking dish. This technique produces cohesive squares that can withstand frying without falling apart. Don’t hesitate to press firmly; the result is worth it.
Tips/Tricks
For optimal results, let your rice cool before mixing in the ingredients. Cold rice holds its shape better and provides improved texture. You can also chill the pressed rice squares for about 30 minutes before frying, which further enhances their ability to maintain structure during cooking.
Experimenting with the oil you use for frying can yield varying flavors. While neutral oils work well, a touch of sesame oil in the frying process adds an additional layer of flavor. Always monitor the oil temperature, adjusting as necessary to avoid overcooking.
Perfecting Results with Crispy Rice Bites
Perfecting Results
A critical part of making crispy rice bites is getting the cooking time right—each side should achieve that golden hue without burning. Cooking in batches may yield better results, as overcrowding the pan can lead to steaming rather than frying.
Consider testing one square first to gauge the cooking time. This first piece reveals if you need to adjust the heat or cooking duration, ensuring every subsequent bite receives similar treatment.
Troubleshooting/Variations
What if the rice doesn’t hold together? This may occur if the rice batch contains too much moisture. To fix this, decrease the liquid ingredients slightly or add more rice to absorb excess moisture before pressing into the baking dish.
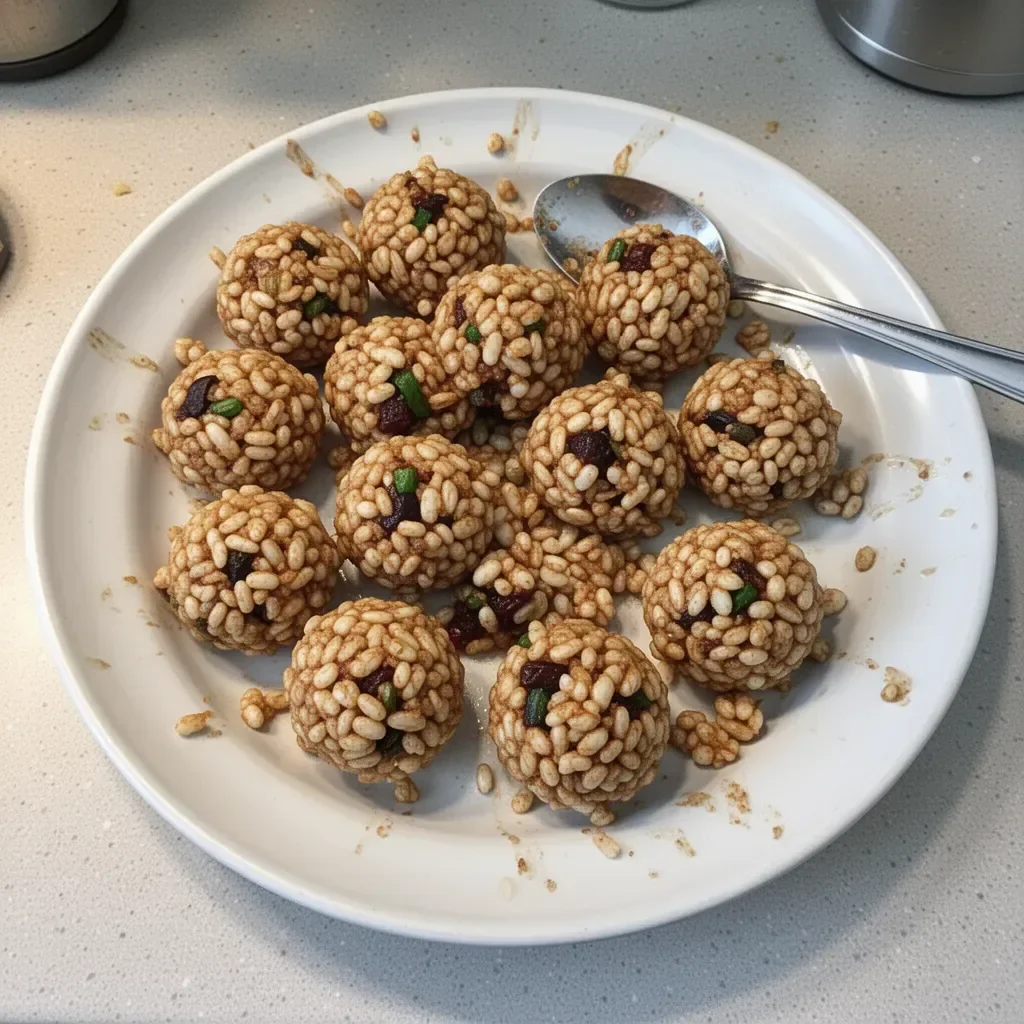
To switch it up, explore different toppings. Besides traditional sushi garnishes, roasted vegetables or even seasoned fish could make delightful additions. Adjust seasonings in the base rice mixture to complement the flavors of your chosen toppings—experimentation often leads to the best discoveries.
Plating and Storing Crispy Rice Bites
Serving/presentation
Presenting your crispy rice bites creatively enhances the dining experience. Serve on a beautiful platter with garnishes like sliced avocado, fresh scallions, or drizzled sauces. Adding vibrant colors elevates the visual appeal, inviting guests to dig in.
Arranging the bites artfully, with toppings neatly placed, creates an elegant touch. Pair with small plates or sushi sets for added flair. These visually striking bites encourage sharing and openness during mealtime.
Pairings/storage
Crispy rice bites pair wonderfully with an array of light dipping sauces, such as soy sauce mixed with a bit of spice. These sauces complement the texture and flavors beautifully while allowing for a flavorful interaction.
To store leftovers, place them in an airtight container and refrigerate for up to two days. To revive their crispiness, reheat them in a skillet instead of a microwave. This method helps maintain that desired crunchiness, ensuring you enjoy every morsel, even the next day.
Conclusion
Crispy rice bites serve as a delightful reminder of the joys of cooking with leftover ingredients. Each bite encapsulates nostalgia while fostering creativity in the kitchen. By mastering the techniques, respecting the ingredients, and experimenting with flavors, you elevate simple dishes to ones that bring joy to the dining table.
Creating these bites transforms leftover sushi rice into crunchy treasure for everyone to savor. It’s all about the experience of sharing good food, turning simple ingredients into something extraordinary. Enjoy them with family or friends, or relish them solo as a delicious snack.
Print
Crispy Rice Bites
- Prep Time: 15 minutes
- Cook Time: 15 minutes
- Total Time: 30 minutes
- Yield: 4 servings
- Category: Appetizer
- Method: Frying
- Cuisine: Japanese
- Diet: Vegetarian
Description
Transform leftover sushi rice into delicious crispy bites topped with your choice of flavorful ingredients.
Ingredients
- 2 cups leftover short-grain sushi rice
- 1 tbsp soy sauce
- 1 tsp sesame oil
- Salt, to taste
- Oil for frying
- Toppings of choice (avocado, spicy tuna, scallions)
Instructions
- Mix the leftover rice with soy sauce, sesame oil, and salt until well combined.
- Press the rice mixture into a flat, even layer in a small baking dish.
- Cut the pressed rice into squares or rectangles with a sharp knife.
- Heat oil in a skillet over medium heat.
- Carefully add the rice squares to the skillet. Fry until crispy and golden brown, about 3-4 minutes per side.
- Remove from the skillet and let drain on paper towels.
- Serve topped with your favorite sushi toppings.
Notes
Let the rice cool before mixing ingredients for better texture. Chill pressed rice squares for enhanced structure during frying. Use neutral oil or a splash of sesame oil for frying.
