📑 Table of Contents ▶
- Tuna Mayo Onigiri: The Perfect Rice Ball
- Fundamentals
- Preparation/setup
- Directions
- Delving Deeper into Tuna Mayo Onigiri
- Technique
- Tips/tricks
- Refining Your Tuna Mayo Onigiri Experience
- Perfecting results
- Troubleshooting/variations
- Celebrating Your Tuna Mayo Onigiri
- Serving/presentation
- Pairings/storage
- Tuna Mayo Onigiri
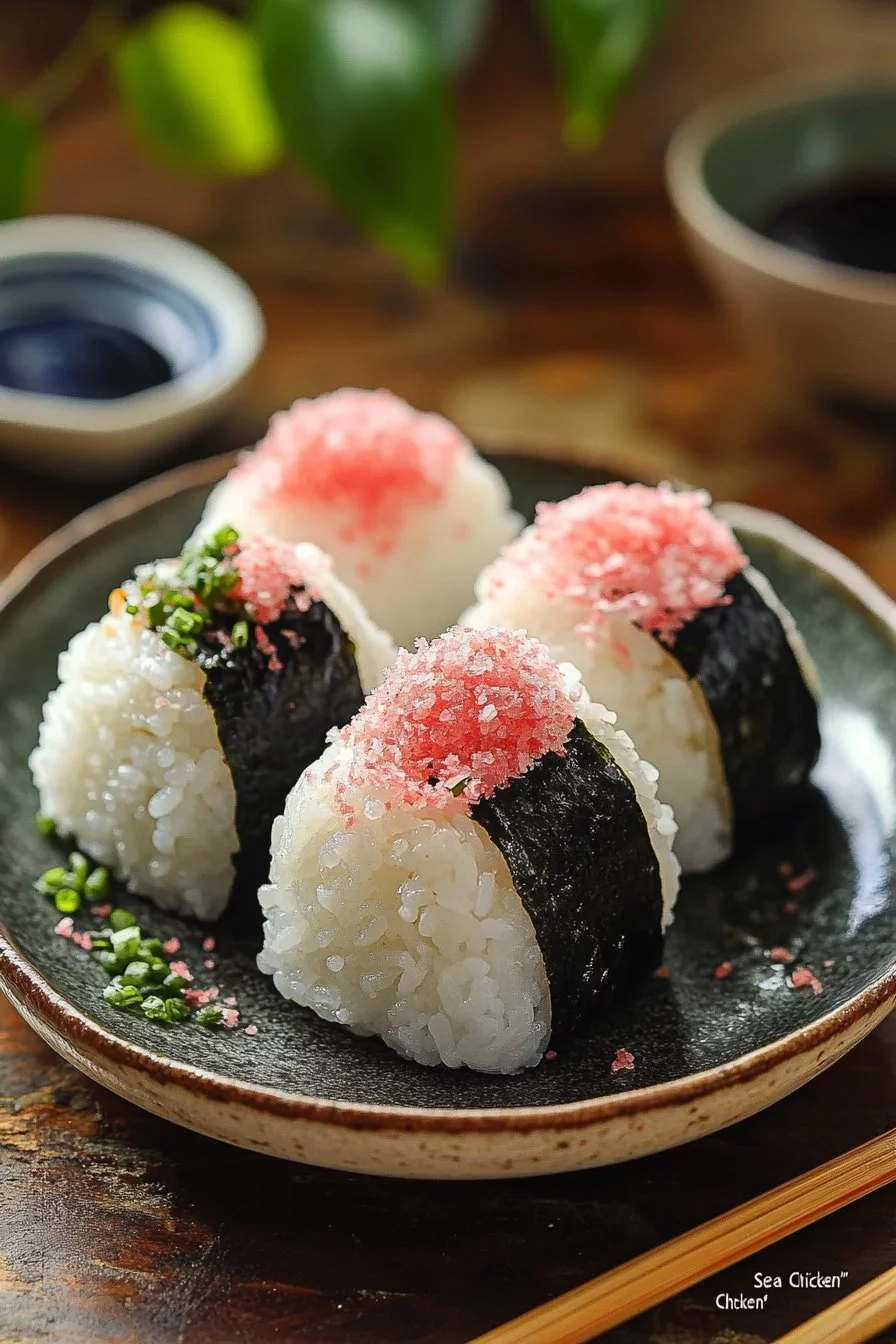
Tuna Mayo Onigiri (Japanese "Sea Chicken" Rice Balls)
Sharing a plate of Tuna Mayo Onigiri reminds me of warm afternoons at Japanese picnics. Everyone gathers, laughter fills the air, and delicious homemade food reigns supreme. Onigiri, those charming rice balls, always seem to steal the show, especially when filled with savory tuna mayo. Each bite combines the flavor of warm, sticky rice with the creamy, umami-packed filling.
The freshness of the ingredients creates a delightful contrast to the soft texture of the rice. This dish epitomizes comfort, offering a lightweight yet satisfying option for any meal. Whether you’re packing lunch for a busy day or creating a cozy dinner at home, Tuna Mayo Onigiri brings that beloved taste of Japan right to the table.
Engaging in food preparation transforms simple moments into meaningful experiences. Crafting these rice balls invites you to explore culinary creativity and share wholesome meals that connect hearts and minds. Let’s dive into the process of making these delightful Tuna Mayo Onigiri!
Tuna Mayo Onigiri: The Perfect Rice Ball
Fundamentals
Tuna Mayo Onigiri, also known as Japanese rice balls, captures the essence of convenience without compromising flavor. A few key fundamentals help you craft these culinary gems easily. The star ingredients include cooked Japanese short-grain rice, which provides a sticky texture, making it easy to mold.
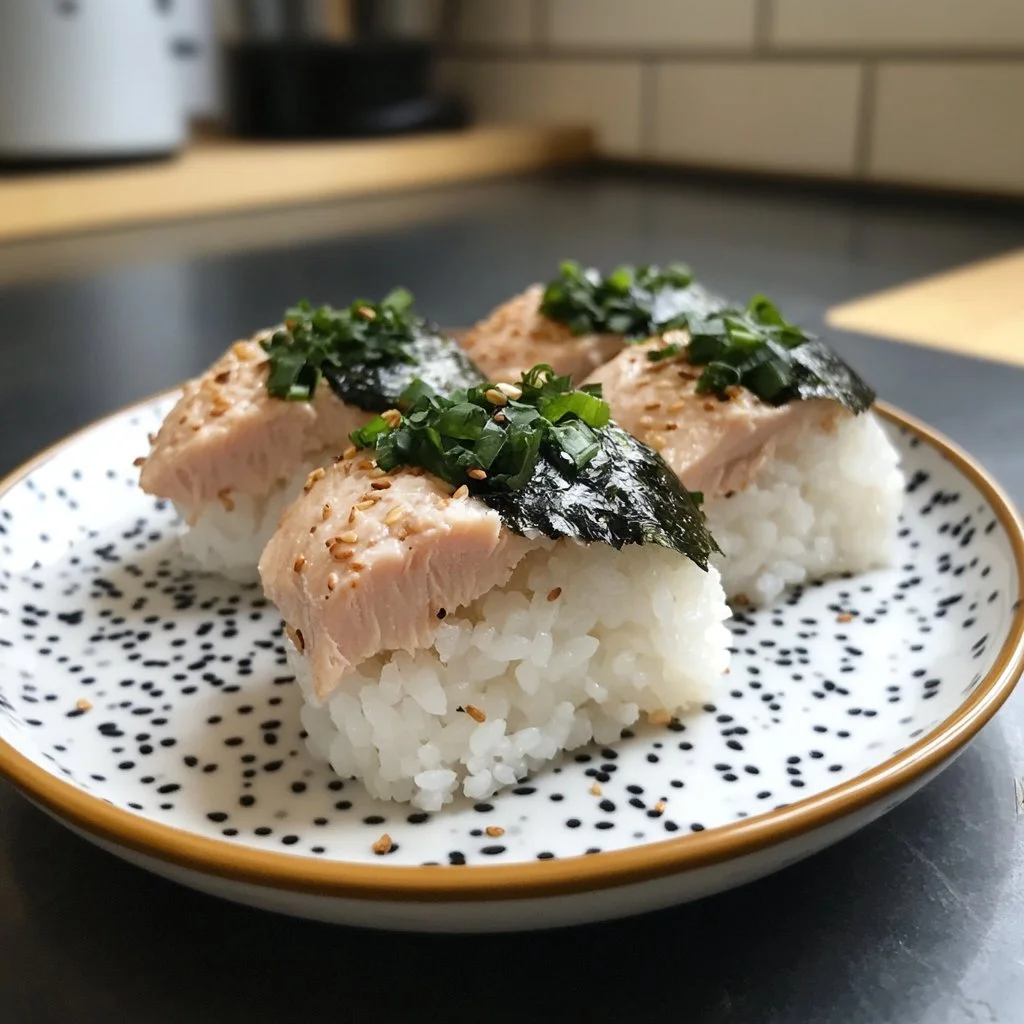
Next, the filling—tuna mixed with creamy mayonnaise, soy sauce, and pepper—creates a satisfying taste sensation. Roasted seaweed, or nori, adds that extra crunch when you wrap the onigiri, delivering a balanced flavor profile.
The beauty of onigiri lies in their versatility. You can experiment with various fillings, yet tuna mayo remains a classic choice that resonates with many. These rice balls not only boast incredible flavor but also embody the love that goes into each bite.
Preparation/setup
Before you embark on your onigiri-making adventure, gather all your ingredients and tools. Ensure your Japanese short-grain rice is freshly cooked and still warm for the best results. The warm rice will help mold easily and encapsulate that delicious filling.
Start by draining your canned tuna. A colander works perfectly for this step; press down to eliminate excess liquid. Combine the tuna with Japanese mayonnaise, soy sauce, and a sprinkle of ground black pepper in a bowl. This creamy mixture serves as the heart of your rice ball, infusing flavor throughout.
For shaping, an onigiri mold makes the process straightforward. Sprinkle it lightly with salt to enhance the flavors. Alternatively, you can shape the rice by hand—wet your hands to prevent sticking, then enjoy molding these rice bundles into perfect triangles.
Ingredients
- 700 g cooked Japanese short-grain rice: Preferably freshly cooked and still warm.
- 80 g canned tuna: Choose oil-packed for extra flavor or water-packed for a lighter option, thoroughly drained.
- 1 tbsp Japanese mayonnaise: Adds creaminess to the filling.
- 1 tsp Japanese soy sauce (koikuchi shoyu): Enhances flavor depth.
- 1 pinch ground black pepper: Freshly ground if possible, for added zest.
- 6 strips roasted seaweed (nori): Wrap right before eating for crispiness.
Directions
- Place a colander or sieve over a bowl to drain the canned tuna.
- Squeeze out excess liquid from the tuna and pour it away.
- Transfer the tuna to a bowl and mix in Japanese mayonnaise, soy sauce, and ground black pepper.
- Sprinkle salt in the onigiri mold and fill it with 50-60g of warm rice.
- Make a dent in the rice, and add about 2 teaspoons of the tuna mayo filling.
- Top with an equal amount of rice, then press it with the lid of the onigiri mold.
- If shaping by hand, fold the rice over to seal the filling, pressing it into a triangle shape with your palm.
- Wrap each onigiri with nori, and enjoy!
Delving Deeper into Tuna Mayo Onigiri
Technique
Perfecting your technique ensures each Tuna Mayo Onigiri turns out just right. The key lies in using warm rice to create those signature rice balls. The warmth helps the rice stick together, making shaping effortless.
Using an onigiri mold offers consistency, while hand-shaping adds a personal touch. When you form the rice, make sure to press gently but firmly. This ensures the filling stays intact but that the rice remains fluffy and soft at the same time.
Focusing on the filling is also crucial. Balance is vital; the tuna mayo mixture should be creamy but not runny. Too much liquid can lead to soggy rice balls, so aim for a perfect blend of flavors in your filling.
Tips/tricks
Here are some helpful tips to elevate your Tuna Mayo Onigiri:
- Experiment with different types of nori. Some varieties offer a light saltiness, while others are toasted for flavor.
- Add a touch of sesame oil to the tuna filling for an extra layer of taste.
- If you’re feeling adventurous, incorporate vegetables like diced cucumber or grated carrots into the filling.
- Serve with pickled vegetables or edamame on the side for a refreshing contrast.
Refining Your Tuna Mayo Onigiri Experience
Perfecting results
Achieving perfect Tuna Mayo Onigiri involves practice and attention to detail. The rice’s texture should be sticky enough to hold together but not overly mushy. Rinse the rice before cooking to remove excess starch and ensure it becomes that ideal fluffy texture.
Pay attention to the tuna mixture’s consistency. Adjust the mayonnaise or add a dash of soy sauce to achieve the desired flavor balance. If you’re using canned tuna packed in oil, it brings an added creaminess that enhances the overall experience.
Troubleshooting/variations
Sometimes onigiri doesn’t work out as planned. If the rice is too dry, slightly moisten it with a splash of water. Conversely, if it’s too wet or sticky, ensure you’re using the right rice type and measuring accurately.
Variations abound! Explore alternative fillings like teriyaki chicken or even avocado for a vegetarian option. Switching up the seasoning in the rice—by adding furikake or sesame seeds—can also enhance the onigiri’s taste.
Celebrating Your Tuna Mayo Onigiri
Serving/presentation
Presentation elevates your Tuna Mayo Onigiri experience. Plating can make a substantial difference. Arrange the rice balls on a beautiful platter, alongside fresh vegetables or resting on a bed of nori.
Consider adding a dash of colorful garnishes, like sesame seeds or sliced green onions, to bring a vibrant touch. Serve immediately for maximum freshness, especially since the nori will maintain its crispness.
Pairings/storage
While Tuna Mayo Onigiri stands deliciously on its own, pairing with complementary sides amplifies the experience. Try serving it with a simple miso soup or a fresh garden salad.
If you find yourself with leftovers, store the onigiri as soon as possible. Wrap them tightly in plastic wrap and refrigerate. Consume within a day for the best flavor, and keep in mind that the nori will lose its crispness if stored for too long.
Overall, the joy of crafting and sharing Tuna Mayo Onigiri makes this dish a true celebration of culture and taste. Each bite encapsulates a slice of happiness, warmth, and connection, perfect for any occasion.
Print
Tuna Mayo Onigiri
- Prep Time: 15 minutes
- Cook Time: 30 minutes
- Total Time: 45 minutes
- Yield: 4 servings
- Category: Main Course
- Method: Baking
- Cuisine: Japanese
- Diet: Pescatarian
Description
Tuna Mayo Onigiri: Japanese rice balls filled with creamy tuna mayonnaise, offering a delightful blend of flavors and textures.
Ingredients
- 700 g cooked Japanese short-grain rice
- 80 g canned tuna, thoroughly drained
- 1 tbsp Japanese mayonnaise
- 1 tsp Japanese soy sauce (koikuchi shoyu)
- 1 pinch ground black pepper
- 6 strips roasted seaweed (nori)
Instructions
- Place a colander over a bowl to drain the canned tuna and squeeze out excess liquid.
- Transfer the tuna to a bowl and mix in Japanese mayonnaise, soy sauce, and ground black pepper.
- Sprinkle salt in the onigiri mold and fill it with 50-60g of warm rice.
- Make a dent in the rice, and add about 2 teaspoons of the tuna mayo filling.
- Top with an equal amount of rice, then press it with the lid of the onigiri mold.
- If shaping by hand, fold rice over to seal the filling into a triangle shape.
- Wrap each onigiri with nori and enjoy!
Notes
Experiment with different fillings and serve with pickled vegetables or edamame.
