📑 Table of Contents ▶
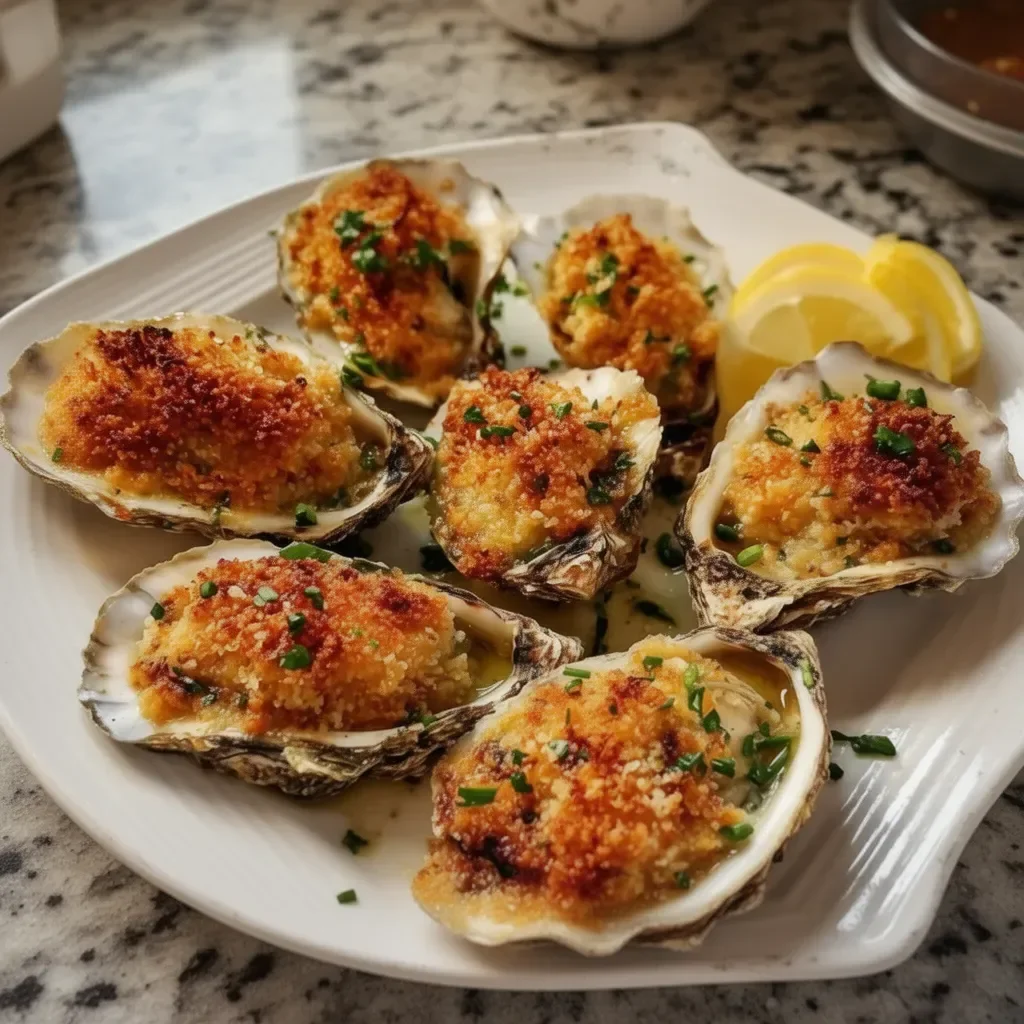
Golden Baked Oysters
Diving into the world of golden baked oysters offers a delightful experience that captures the essence of coastal living. I remember the first time I tried baked oysters at a seaside restaurant. The anticipation grew as I watched the server bring out a glistening tray of these beauties, their briny aroma mingling with the rich scents of garlic and butter. Each bite transported me to a sun-soaked beach, where the waves danced with every heartbeat.
Over the years, I made it my mission to recreate that dish at home, believing that everyone should experience that joy. Preparing golden baked oysters became a cherished tradition at family gatherings, with everyone eagerly gathering in the kitchen, sharing laughter and tips. The beauty of this dish lies in its simplicity and the heartwarming flavors that resonate with each bite.
In this busy world, golden baked oysters offer a comforting escape into culinary delight, perfect for intimate gatherings or special occasions. With just a few familiar ingredients, you can bring the taste of the sea to your table, creating memorable moments. Let’s dive into the art of baking oysters with a crunchy topping that goldenizes beautifully, making every meal extraordinary.
Golden Baked Oysters: Fundamentals
Fundamentals
Golden baked oysters are one of the simplest yet most impressive seafood dishes you can prepare. This recipe allows the fresh, briny flavor of the oysters to shine through while adding a savory layer through the rich topping. Baked oysters are versatile and elevate any dining experience, whether for a casual weeknight dinner or a festive gathering.
The combination of breadcrumbs, Parmesan cheese, garlic, and butter creates a delicious topping that perfectly complements the oysters’ natural flavor. Not only do these baked oysters look stunning on a platter, but they also offer a delightful texture contrast between the tender oyster and crispy topping.
Preparation/setup
To start, gather your ingredients and equipment. Set aside 12 fresh oysters, 1/2 cup breadcrumbs, and other necessary materials. You will need a baking sheet to hold the oysters as they bake, helping them remain stable and secure. Prepping your cooking area not only keeps you organized but also boosts your confidence in the kitchen.
Before diving into cooking, preheat your oven to 400°F (200°C). This will ensure the oysters cook evenly and reach that ideal golden-brown color. Proper preparation sets the stage for delicious results, making the baking process smooth and enjoyable.
Ingredients
For golden baked oysters, you will need the following ingredients:
- 12 fresh oysters
- 1/2 cup breadcrumbs
- 2 tablespoons melted butter
- 2 cloves garlic, minced
- 1/4 cup grated Parmesan cheese
- 1 tablespoon chopped fresh parsley
- 1 tablespoon lemon juice
- Salt and pepper to taste
These simple ingredients combine to create a dish that balances savory and fresh flavors. Each component plays a vital role, from the crunch of the breadcrumbs to the creaminess of the cheese. Use fresh parsley to add a pop of color and enhance the flavor profile of the dish.
Directions
- Preheat your oven to 400°F (200°C).
- Shuck the oysters and place them on a baking sheet.
- In a bowl, combine breadcrumbs, melted butter, garlic, Parmesan cheese, parsley, lemon juice, salt, and pepper.
- Spoon the mixture onto each oyster.
- Bake for 10-12 minutes until golden brown and bubbling.
- Serve immediately and enjoy!
Elevating Your Golden Baked Oysters
Technique
The technique for preparing golden baked oysters centers around properly shucking them and applying the topping. Shucking oysters can initially seem intimidating, but with practice, it becomes an efficient process. Use an oyster knife and a towel to hold the oyster securely, protecting your hand as you pry it open.
Afterwards, ensure you keep the deep shell that holds the oyster intact, as this serves as a great base for the topping. Mixing your breadcrumbs, garlic, and cheese with melted butter creates a rich flavor while also allowing the mixture to adhere to the oysters effectively.
Tips/tricks
To elevate your golden baked oysters, consider these handy tips. Always use fresh oysters from a reliable source, as freshness enhances the overall flavor. Store them in the refrigerator until you’re ready to use them, preferably on ice to maintain their quality.
Experimenting with the ratio of breadcrumbs to cheese allows you to modify the flavor and texture according to your preferences. For those who enjoy a little heat, add a pinch of red pepper flakes to the mixture for a delightful kick. Make the topping ahead of time and store it in the refrigerator; this can save you time during preparation.
Perfecting Golden Baked Oysters
Perfecting results
Perfecting golden baked oysters is all about timing and attention to detail. Keep a close eye on the oysters while they bake. The moment they turn a beautiful golden brown and start bubbling, you know they’re ready to come out of the oven.
Allow the oysters to cool slightly before serving. This brief resting period helps them set and makes for a safer eating experience. When serving, consider arranging them on a platter with lemon wedges for an appealing presentation.
Troubleshooting/variations
Every home cook faces challenges, and troubleshooting baked oysters can lead to delicious discoveries. If your topping seems too dry, consider adding more butter or even a splash of broth to incorporate additional moisture. Alternatively, if it lacks crunch, pop it back in the oven for a few more minutes.
You can also try variations on the traditional topping. Adding crispy bacon bits or using flavored breadcrumbs can create delightful twists. Exploring different herbs or cheeses can also provide exciting flavors to your golden baked oysters, expanding your culinary repertoire.
Serving and Storing Golden Baked Oysters
Serving/presentation
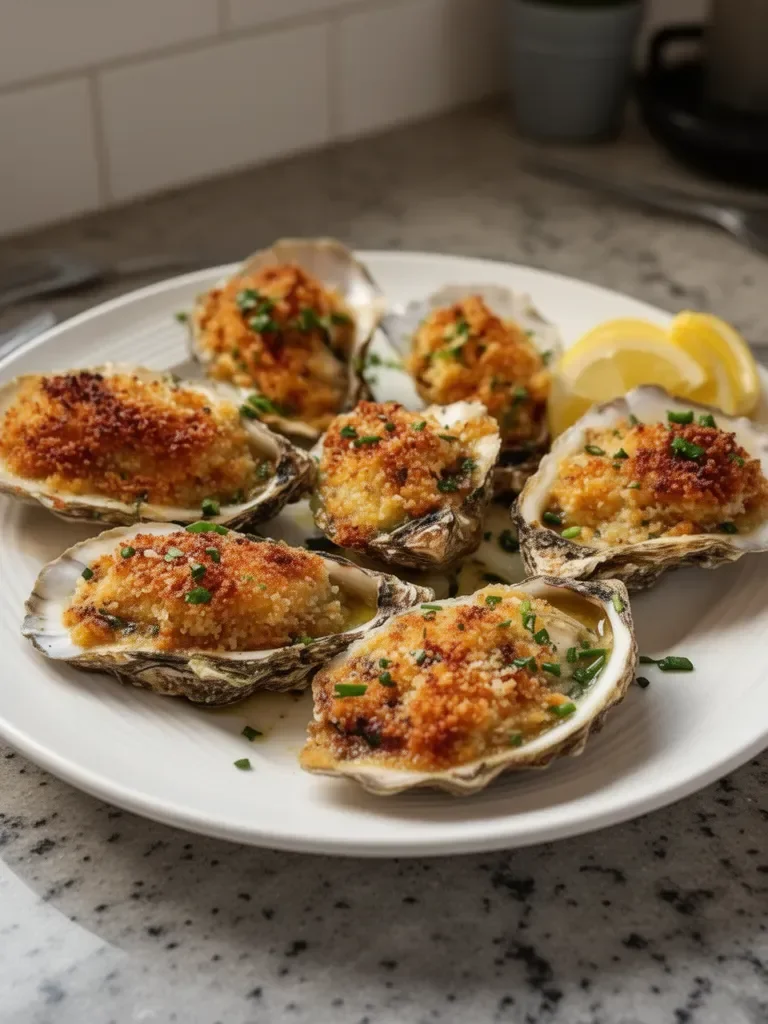
Serving golden baked oysters calls for creativity. Create a beautiful spread by placing fresh herbs around the baked oysters for color, or use a simple rustic serving dish that enhances the coastal theme of the dish.
Encouraging guests to squeeze fresh lemon juice over their oysters just before enjoying them enhances their flavor and offers a touch of brightness that balances the richness of the topping perfectly. Make sure to provide small forks or toothpicks for convenient serving.
Pairings/storage
While baked oysters pair beautifully with many aspects of seafood cuisine, they stand out on their own. For a complete meal, consider accompanying them with a light salad, crusty bread for dipping, or even a seafood chowder to maintain the maritime theme of your meal.
If you have leftovers, store any uneaten baked oysters in an airtight container in the refrigerator for up to two days. Reheat them gently in the oven to avoid overcooking, which can toughen the oysters.
In a world filled with complex recipes, golden baked oysters stand tall as a shining example of simplicity and flavor. This dish brings the taste of the sea straight to your home, creating cherished memories with every bite. The enticing combination of fresh oysters and golden topping keeps everyone coming back for more, regardless of the occasion.
Print
Golden Baked Oysters
- Prep Time: 10 minutes
- Cook Time: 12 minutes
- Total Time: 22 minutes
- Yield: 4 servings
- Category: Appetizer
- Method: Baking
- Cuisine: Seafood
- Diet: Pescatarian
Description
A delightful seafood dish featuring fresh oysters topped with a savory breadcrumb mixture, baked to golden perfection.
Ingredients
- 12 fresh oysters
- 1/2 cup breadcrumbs
- 2 tablespoons melted butter
- 2 cloves garlic, minced
- 1/4 cup grated Parmesan cheese
- 1 tablespoon chopped fresh parsley
- 1 tablespoon lemon juice
- Salt and pepper to taste
Instructions
- Preheat your oven to 400°F (200°C).
- Shuck the oysters and place them on a baking sheet.
- Combine breadcrumbs, melted butter, garlic, Parmesan cheese, parsley, lemon juice, salt, and pepper in a bowl.
- Spoon the mixture onto each oyster.
- Bake for 10-12 minutes until golden brown and bubbling.
- Serve immediately and enjoy!
Notes
For added flavor, consider mixing in some red pepper flakes or experimenting with different herbs.
