📑 Table of Contents ▶
Standing by the shore, the scent of the sea mingling with the aroma of sizzling coconut shrimp, I find myself drawn to my childhood memories. Growing up by the coast, seafood was more than just food; it was a way of life. The satisfying crunch of coconut shrimp, with its perfectly crispy exterior and succulent center, transports me back to family gatherings where this dish took center stage.
The journey to mastering coconut shrimp has been as delightful as the dish itself. From experimenting with ingredient combinations to perfecting the fry, each step has been a labor of love. The ingredients are simple, yet the result is nothing short of spectacular. Join me as we explore the secrets to creating irresistible coconut shrimp that will leave you craving more.
In today’s fast-paced world, finding time to cook can be a challenge. But with coconut shrimp, you have a recipe that is both quick and rewarding. This dish not only satisfies your taste buds but also brings a sense of nostalgia and warmth to your dining table. Whether you’re a seasoned seafood lover or a curious newcomer, coconut shrimp is a must-try that promises to deliver both flavor and joy.
Print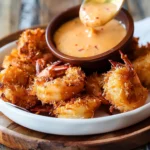
Coconut Shrimp
- Prep Time: 20 minutes
- Cook Time: 10 minutes
- Total Time: 30 minutes
- Yield: 4 servings
- Category: Appetizer
- Method: Frying
- Cuisine: Thai
Description
Learn how to make delicious coconut shrimp at home with this easy recipe. Crispy, flavorful, and perfect for any occasion. Click to get cooking now!
Ingredients
- – 1/2 cup (120 ml) mayonnaise
- – 1 tablespoon (15 ml) Sriracha
- – 1 tablespoon (15 ml) Thai sweet chili sauce
- – 1/3 cup (80 g) all-purpose flour
- – Salt and freshly ground black pepper
- – 2 eggs, beaten
- – 3/4 cup (90 g) Panko bread crumbs
- – 1 cup (80 g) sweetened shredded coconut
- – 1 pound (450 g) jumbo raw shrimp, thawed, peeled, and deveined
- – 2 cups (480 ml) vegetable oil for frying
Instructions
- To prepare the sauce for dipping, combine mayonnaise, Sriracha, and Thai sweet chili sauce in a small bowl. Chill until ready to serve.
- In a shallow dish, mix together the flour with salt and freshly ground black pepper to taste. In another shallow dish, lightly beat the eggs. In a third shallow dish, mix the Panko bread crumbs and sweetened shredded coconut.
- One at a time, coat each shrimp in the flour mixture, shaking off any surplus. Dip it into the beaten eggs, gently tapping to let any excess drip off. Coat with the Panko-coconut mixture, pressing gently to ensure it sticks. Place each coated shrimp onto a large plate and repeat with the rest. If needed, wrap the shrimp in plastic and keep them in the fridge for up to two hours.
- Cover a rimmed baking sheet or large plate with three layers of paper towels. Heat vegetable oil in a large saucepan over medium-high heat until it shimmers. Fry the shrimp in batches, cooking each side until they are a deep golden brown and fully cooked, about 2 to 3 minutes per side (the shrimp should reach an internal temperature of 120 degrees Fahrenheit).
- Allow the shrimp to drain thoroughly on paper towels. Repeat this process with the remaining shrimp and serve with the prepared sauce.
Notes
- Ensure the shrimp are properly deveined before coating for a clean and delicious bite.
- Press the Panko-coconut mixture firmly onto each shrimp for added crunch before frying.
- Monitor the oil temperature while frying to prevent burning the coconut coating. Serve immediately for the best taste and texture.
Coconut Shrimp Essentials
Fundamentals
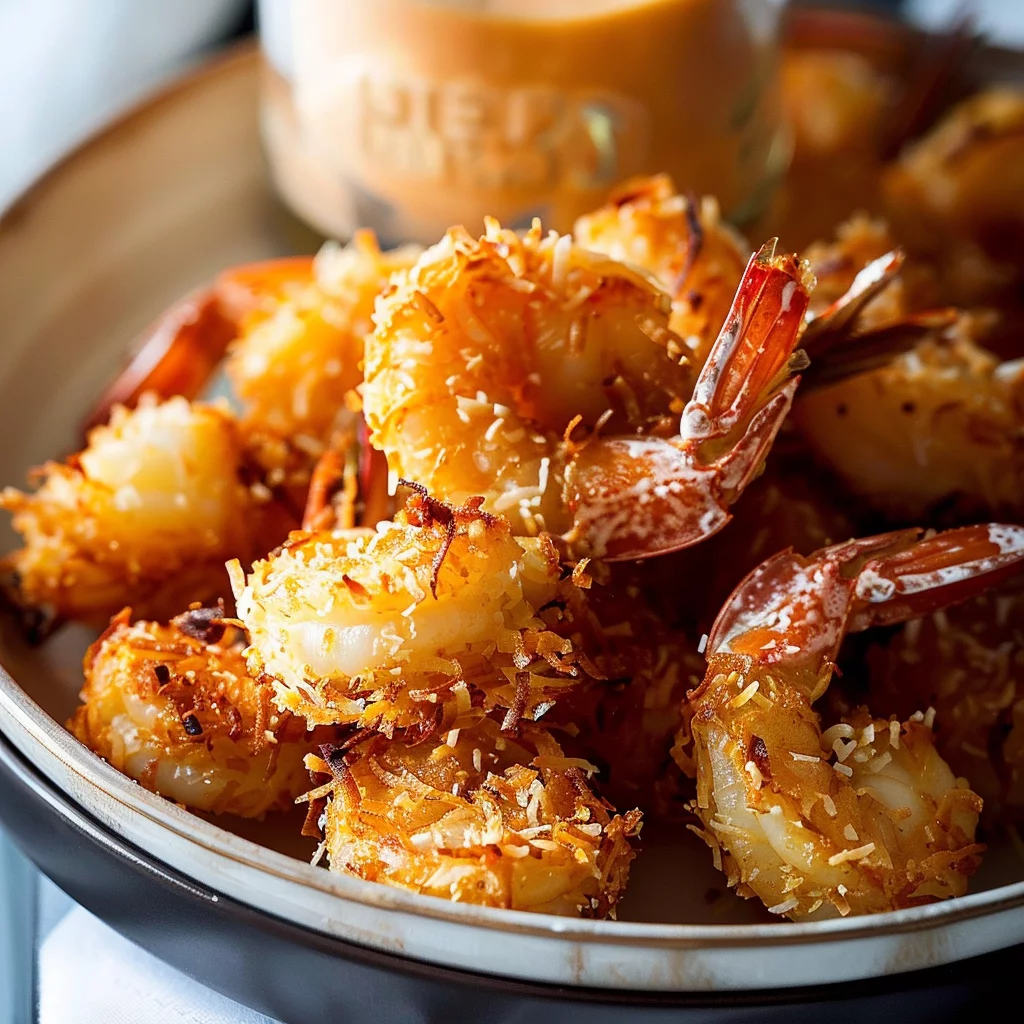
Coconut shrimp is a delightful blend of textures and flavors, combining the sweetness of coconut with the savory taste of shrimp. The key to its appeal lies in the contrast between the crispy coating and the tender shrimp inside. To achieve this, choosing the right shrimp and ingredients is critical. Jumbo raw shrimp, peeled and deveined, provide the perfect canvas for this dish.
The blend of Panko bread crumbs and sweetened shredded coconut creates the ideal crust. Panko offers a light, airy texture, while coconut adds a sweet, tropical note. The addition of a spicy dipping sauce, made from mayonnaise, Sriracha, and Thai sweet chili sauce, complements the shrimp perfectly, adding a kick that balances the sweetness.
Preparation/Setup
Before diving into the cooking process, ensure all ingredients are prepped and ready. Begin by setting up three shallow dishes for the breading process: one with flour seasoned with salt and pepper, another with beaten eggs, and the last combining Panko and coconut. This setup ensures a streamlined workflow, allowing you to coat the shrimp efficiently.
Preheat your oil in a large saucepan until it shimmers, indicating it’s ready for frying. Having a rimmed baking sheet lined with paper towels nearby will help drain excess oil from the fried shrimp, maintaining their crispness. This setup not only simplifies the process but also ensures each piece is perfectly coated and fried to golden perfection.
Mastering the Art of Coconut Shrimp
Technique
The technique behind perfect coconut shrimp lies in the breading and frying process. Start by coating each shrimp in the seasoned flour, ensuring it is evenly covered. This initial layer helps the egg adhere to the shrimp, which in turn allows the Panko-coconut mixture to stick effectively.
Once coated, gently place the shrimp into the hot oil, frying them in batches to avoid overcrowding. Each side should take about 2 to 3 minutes to reach a deep golden brown. This method ensures the shrimp are cooked through while maintaining a crispy exterior. The goal is to achieve a balance between the crunchy coating and the juicy interior.
Coconut Shrimp
Tips/Tricks
For best results, use a thermometer to monitor the oil temperature, keeping it around 350°F. This helps maintain consistent frying, preventing the shrimp from becoming greasy. If you find the coating isn’t sticking well, double-dip the shrimp in the egg and Panko-coconut mixture for an extra-thick crust.
For variations, consider adding a touch of lime zest to the coconut mixture for a citrusy twist. If you enjoy a bit of heat, mix some cayenne pepper into the flour for an extra kick. These small adjustments can elevate the dish and cater to your personal taste preferences.
Elevating Your Coconut Shrimp Game
Perfecting Results
Achieving the perfect coconut shrimp is an art that comes with practice. Pay attention to the color and texture of the shrimp as they fry. A rich golden hue and a firm, yet tender, interior are indicators of success. The sweet coconut aroma paired with the savory shrimp is a delightful combination that excites the senses.
Consider experimenting with different sauces to serve alongside your shrimp. While the classic combination of mayonnaise, Sriracha, and Thai sweet chili sauce is a favorite, a homemade pineapple salsa or a simple garlic aioli can offer a refreshing change. Each sauce brings its own unique flavor profile, enhancing the shrimp in different ways.
Troubleshooting/Variations
If your shrimp aren’t as crispy as desired, ensure the oil is hot enough before frying. Overcrowding the pan can also lead to soggy results, so fry in small batches. For those new to frying, practice with a few shrimp first to get a feel for the process.
For a healthier alternative, consider baking the shrimp instead of frying. Preheat your oven to 425°F and place the shrimp on a wire rack over a baking sheet. This method yields a different texture but retains the essential flavors of the dish. Experiment with both methods to find your preferred way of cooking coconut shrimp.
Serving Coconut Shrimp in Style
Serving/Presentation
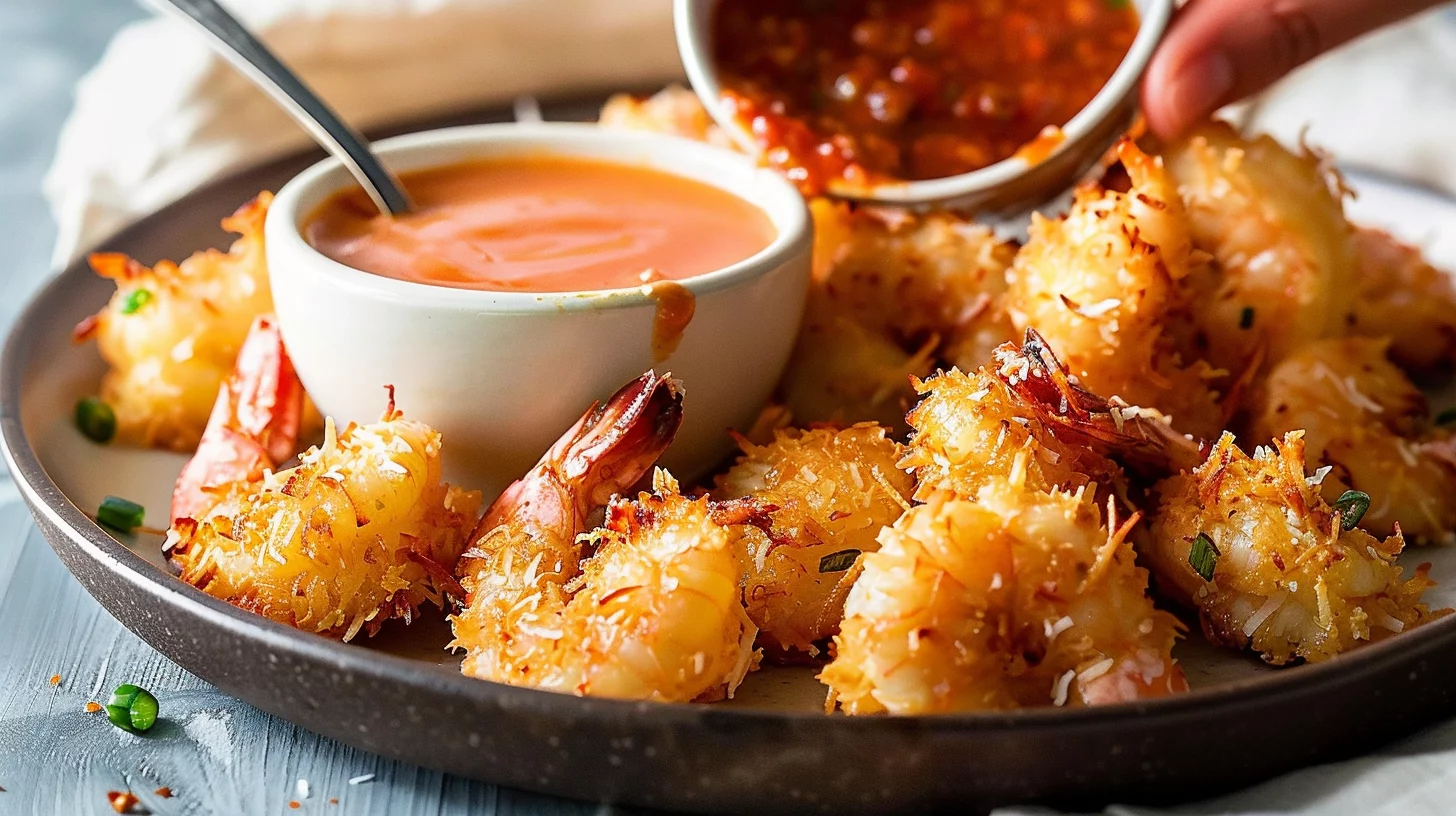
Presentation plays a crucial role in elevating your coconut shrimp experience. Arrange the shrimp on a platter with a small bowl of dipping sauce at the center. Garnish with fresh cilantro or lime wedges for a pop of color. The vibrant presentation not only makes the dish visually appealing but also enhances the overall dining experience.
Pair coconut shrimp with a side of jasmine rice or a fresh green salad for a balanced meal. The combination of textures and flavors creates a harmonious plate that satisfies both the eyes and the palate. For more shrimp inspiration, explore sweet chili shrimp or garlic shrimp in coconut milk.
Pairings/Storage
While coconut shrimp shines on its own, pairing it with complementary dishes can enhance the dining experience. Consider serving it alongside a shrimp and asparagus stir-fry for a complete seafood feast. For dessert, treat yourself to coconut toffee chocolate chip cookie bars to continue the coconut theme.

Coconut Shrimp
To store leftovers, place the shrimp in an airtight container and refrigerate for up to two days. Reheat in the oven to retain their crispiness. For more shrimp dishes, check out Thai coconut shrimp curry or salt and pepper shrimp.
Conclusion
Coconut shrimp offers a delightful blend of flavors and textures that make it a standout dish. With its crispy coating and tender shrimp, it’s a recipe that never fails to impress. Whether you’re serving it as an appetizer or a main course, coconut shrimp is versatile and always a crowd-pleaser.
The process of creating coconut shrimp is not only rewarding but also fun. From the initial preparation to the final presentation, each step is an opportunity to infuse your personal touch. As you explore different variations and pairings, you’ll discover new ways to enjoy this classic dish.
Mastering coconut shrimp is a journey worth taking. With its rich flavors and satisfying crunch, it’s a dish that captures the essence of coastal cooking. Whether you’re an experienced cook or a beginner, coconut shrimp offers endless possibilities for creativity and enjoyment.
