
📑 Table of Contents ▶
- Understanding Dutch Oven No Knead Bread
- Fundamentals
- Preparation/Setup
- Directions
- Mastering No Knead Bread Techniques
- Technique
- Tips/Tricks
- Perfecting No Knead Bread Results
- Perfecting Results
- Troubleshooting/Variations
- Serving and Enjoying Your No Knead Bread
- Serving/Presentation
- Pairings/Storage
- Irresistibly Crusty Dutch Oven No Knead Bread Bliss
Irresistibly Crusty: Dutch Oven No Knead Bread Bliss
In one of my earliest baking adventures, I remember the excitement that filled my kitchen when I first pulled a steaming loaf of bread from the oven. The aroma engulfed the room, whispering promises of soft interiors and a crunchy, golden crust. That moment sparked an unwavering passion for baking, particularly when it comes to no-knead bread.
There’s something magical about no-knead bread. It transforms simple ingredients into a delightful creation with minimal effort. The fluffy texture and crusty exterior make it a fantastically rewarding experience for both seasoned bakers and beginners. One of my favorite methods is using a Dutch oven, which creates the ideal environment for that perfect rise and crust.
Today, we delve into the art of making irresistibly crusty no-knead bread using a few basic ingredients. This recipe will not only fill your home with wonderful scents but also impress everyone at your dinner table. Get ready to embark on a culinary journey that melds simplicity with satisfaction.
Understanding Dutch Oven No Knead Bread
Fundamentals
No-knead bread hinges on the delicate balance of time, temperature, and humidity. The long resting period allows the gluten to develop, resulting in that airy texture everyone loves. Using a Dutch oven intensifies the heat, creating steam, and leads to a crust that crackles upon slicing.
Not only does this method provide the essentials for successful bread-making, but it also encourages you to let go of traditional kneading techniques. Embrace the beauty of simplicity and patience with this baking method, and soon you’ll enjoy fresh, crusty bread without the laborious process of kneading.
Preparation/Setup
Preparing no-knead bread requires minimal physical effort but a bit of foresight. Start by selecting your ingredients wisely. Each one plays a crucial role in the final texture and taste. Using filtered warm water activates the yeast beautifully, while the type of flour influences the chewiness of the loaf.
Gather your tools upfront: a large bowl, a spatula, parchment paper, and, of course, your trusty Dutch oven. Pre-heating your oven with the Dutch oven inside ensures that you create a bakery-quality crust.
Ingredients
- 1 1/2 cups warm water (use filtered for best results)
- 1/4 teaspoon active dry yeast (ensure it’s fresh)
- 1 teaspoon salt (sea salt is an excellent choice)
- 3 cups all-purpose flour (consider bread flour for extra chewiness)
These four ingredients come together in a magical way, satisfying cravings for homemade bread while providing a deeply satisfying cooking experience.
Directions
- Pour 1 1/2 cups of warm water into a large bowl.
- Add 1/4 teaspoon of active dry yeast and 1 teaspoon of salt.
- Stir gently until dissolved, creating a bubbly base for your dough.
- Gradually mix in 3 cups of all-purpose flour until a sticky dough forms. It should be shaggy and resemble the texture of thick pancake batter, with no dry flour remaining.
- Cover the bowl with a kitchen towel and let it rest in a warm spot for about 2-3 hours. Watch it transform into a puffed, airy dough, roughly double its size.
- About 30 minutes before baking, preheat your oven to 450°F with your Dutch oven inside.
- Lightly flour a piece of parchment paper and turn the dough onto it. Shape it gently into a round loaf, being careful not to deflate it too much.
- Carefully lift the parchment and dough, then place it into the heated Dutch oven. Cover with the lid to seal in the heat for an even bake.
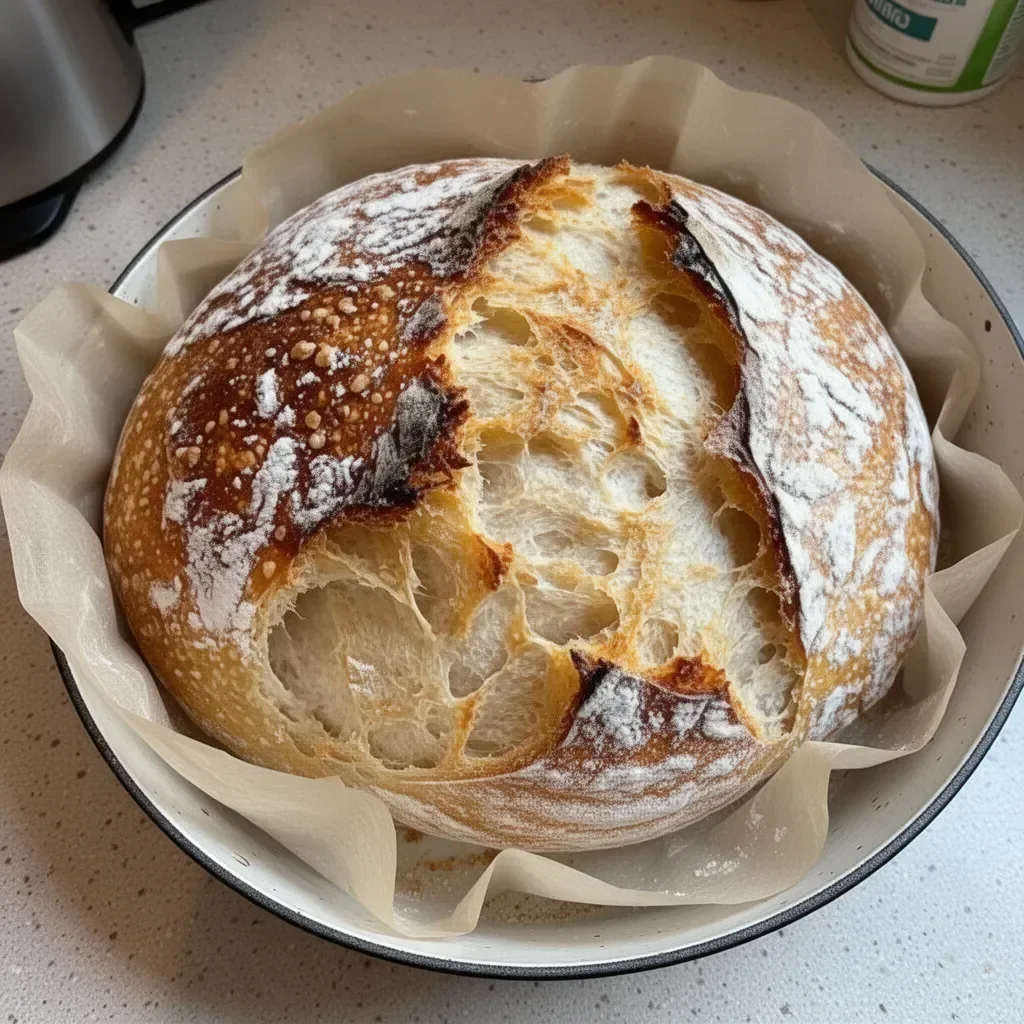
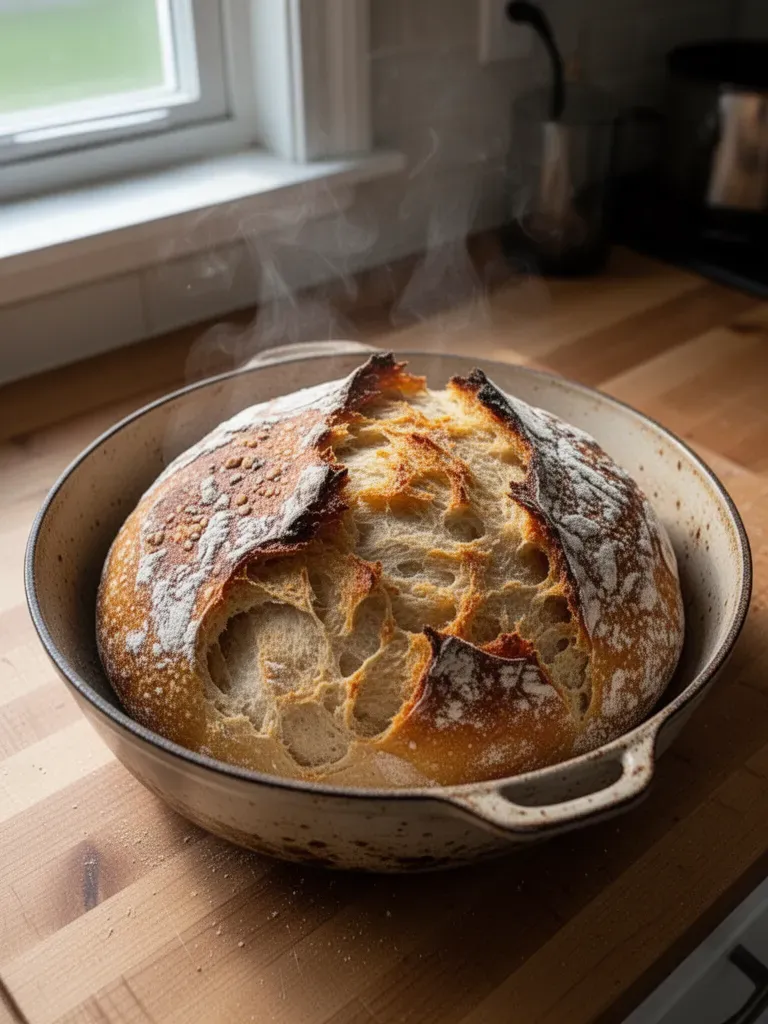
- Bake covered for 35-40 minutes, then uncover and bake for an additional 5-10 minutes. Look for a deep golden-brown color and an aroma that shouts “freshly baked!”
- Remove from the oven and transfer the bread to a cooling rack. Let it sit for at least 10 minutes before slicing to allow the flavors to settle.
Mastering No Knead Bread Techniques
Technique
Mastering the no-knead bread technique can elevate your baking game. The key to achieving the right texture lies in patience and the fermentation process. Letting the dough sit allows flavors to develop and encourages the yeast to work its magic.
When shaping your dough, handle it gently. Avoid excessive pressure; you want to retain those air pockets that formed during the resting period. Shape it enough to give it structure, but not so much that you deflate it.
Tips/Tricks
Experimenting with your no-knead bread can yield exciting variations. For an enriched flavor, consider adding herbs, garlic, or even cheese to the dry ingredients. Play with different types of flour as well; whole wheat or spelt flour can introduce new textures and nuances.
If your dough seems too wet, don’t worry. This is typical for no-knead bread. Incorporate additional flour only when necessary, as the humid environment will help achieve a perfect balance.
Perfecting No Knead Bread Results
Perfecting Results
Consistency is vital when it comes to perfecting no-knead bread. Ensure you control the temperature in your kitchen to achieve a conducive baking environment. Cooler conditions can slow yeast fermentation, so a warm spot will work wonders for your dough.
A well-heated Dutch oven is essential for achieving a crusty exterior. Pre-heating it allows a burst of steam when you place the dough inside, creating that professional bakery atmosphere right in your home.
Troubleshooting/Variations
While no-knead bread is generally forgiving, a few issues can arise. If your bread doesn’t rise adequately, consider that your yeast might be outdated. Fresh yeast is crucial for achieving the desired airy texture.
If your crust turns out too hard, adjust your baking time. Less time covered with the lid can soften the crust while still ensuring a beautiful golden color. Variations in resting temperature can also affect outcomes; maintain a consistent warm environment.
Serving and Enjoying Your No Knead Bread
Serving/Presentation
When it comes to serving no-knead bread, simplicity reigns supreme. Slice the loaf or present it whole for a rustic look on your dining table. Accompany it with butter, spreadable cheese, or garlic dip, allowing guests to enjoy it in their preferred style.
Pair your fresh bread with an array of toppings from a dash of olive oil to savory spreads. Each slice carries the warmth of homemade baking and invites you to indulge in culinary creativity.
Pairings/Storage
No-knead bread makes an excellent companion for salads, soups, or even a charcuterie board. It pairs beautifully with various spreads and toppings, enhancing meal enjoyment.
For storage, allow the bread to cool completely before wrapping it in a clean dish towel. This helps maintain the integrity of the crust. To prolong freshness, consider placing it in a paper bag instead of plastic, as this will prevent moisture accumulation while keeping the crust crispy.
In conclusion, this no-knead bread recipe opens the door to savory adventures, infusing your home with warmth. The satisfying crunch, coupled with airy texture, embodies comfort and culinary joy. Happy baking!
Print
Irresistibly Crusty Dutch Oven No Knead Bread Bliss
- Prep Time: 10 minutes
- Cook Time: 50 minutes
- Total Time: 60 minutes
- Yield: 1 loaf
- Category: Bread
- Method: Baking
- Cuisine: American
- Diet: Vegetarian
Description
Experience the magical transformation of simple ingredients into a crusty, golden loaf of no-knead bread using a Dutch oven.
Ingredients
- 1 1/2 cups warm water (filtered)
- 1/4 teaspoon active dry yeast
- 1 teaspoon sea salt
- 3 cups all-purpose flour
Instructions
- Pour 1 1/2 cups of warm water into a large bowl.
- Add 1/4 teaspoon of active dry yeast and 1 teaspoon of salt.
- Stir gently until dissolved, creating a bubbly base for your dough.
- Gradually mix in 3 cups of all-purpose flour until a sticky dough forms.
- Cover the bowl with a kitchen towel and let it rest in a warm spot for about 2-3 hours.
- Preheat your oven to 450°F with your Dutch oven inside about 30 minutes before baking.
- Lightly flour a piece of parchment paper and turn the dough onto it, shaping it gently into a round loaf.
- Carefully lift the parchment and dough, then place it into the heated Dutch oven.
- Bake covered for 35-40 minutes, then uncover and bake for an additional 5-10 minutes.
- Remove from the oven and let it cool on a rack for at least 10 minutes before slicing.
Notes
Experiment with different flour types and add herbs or cheese for variations.
