📑 Table of Contents ▶
- The Art of Homemade Dulce de Leche
- Fundamentals
- Preparation/Setup
- Directions
- Secrets to Crafting the Perfect Homemade Dulce de Leche
- Technique
- Tips/Tricks
- Perfecting Your Homemade Dulce de Leche
- Perfecting Results
- Troubleshooting/Variations
- Serving and Storing Your Homemade Dulce de Leche
- Serving/Presentation
- Pairings/Storage
Homemade Dulce de Leche
Sweetened condensed milk holds a special place in many kitchens, acting as the secret ingredient behind many delightful treats. Memories of standing by the stove, eagerly waiting for a rich, gooey caramel to form from that humble can of magic always bring a smile. Homemade dulce de leche captures that sense of anticipation and joy.
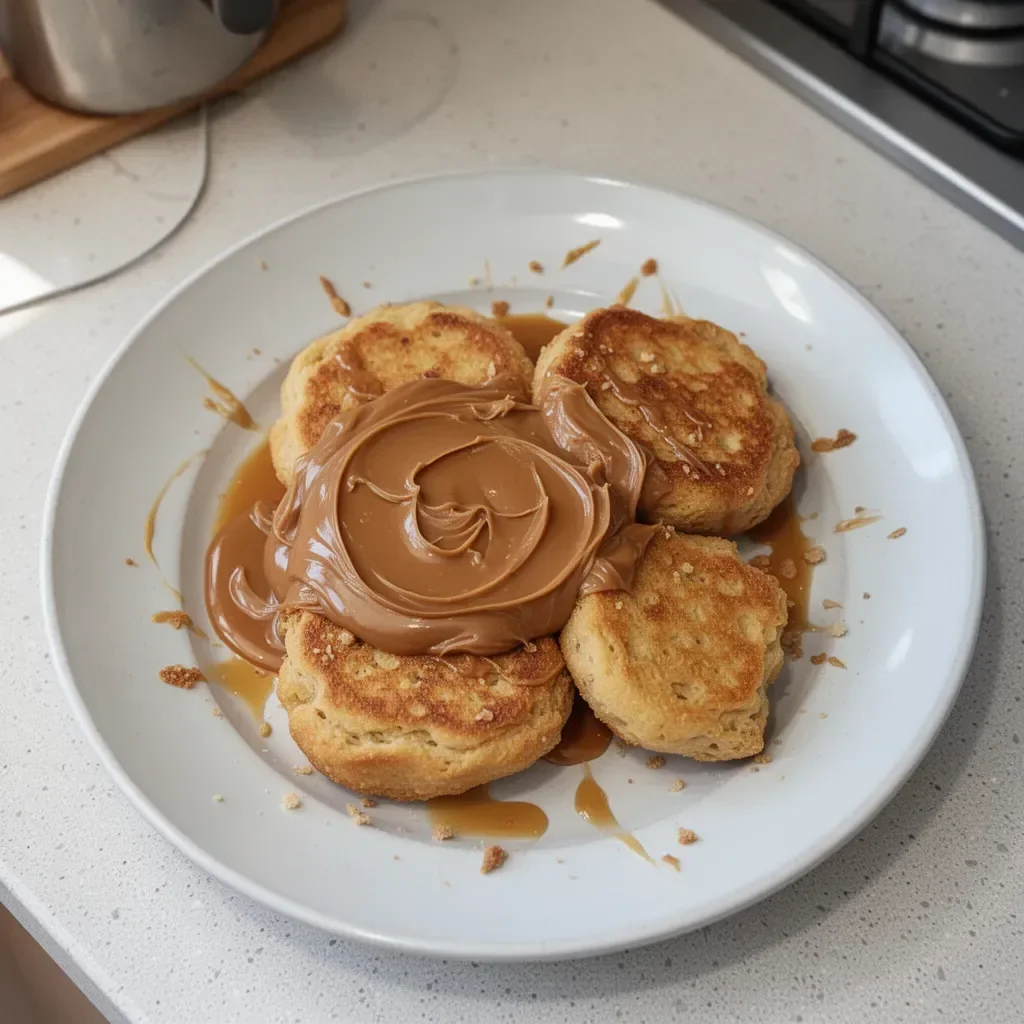
Imagine drizzle over ice cream, ladle it onto pancakes, or spread it on toast — its versatility knows no bounds. Each time you create homemade dulce de leche, you transform a few simple ingredients into something incredible. The mesmerizing process of cooking sweetened condensed milk, baking soda, and salt until it reaches that perfect caramel hue requires patience but is worth every moment.
The aroma that fills your kitchen while preparing this treat is simply irresistible. Stirring continually over low heat, you watch as your ingredients blend in a symphony of flavors and transformations. As the mixture thickens and deepens, you eagerly await the moment you can call it finished, adding a hint of vanilla to complete the masterpiece. This homemade dulce de leche features a luscious taste that instantly elevates any dessert.
The Art of Homemade Dulce de Leche
Fundamentals
Creating homemade dulce de leche requires a few essential elements. You only need sweetened condensed milk, a dash of baking soda, salt, and a hint of vanilla extract. The star ingredient, sweetened condensed milk, serves as the base, offering sweetness and richness. It pairs beautifully with a little baking soda which helps with the caramelization process. Salt enhances flavor, balancing the sweetness through a delicious synergy that captives the taste buds.
An essential point to remember is patience. As tempting as it may be to increase the heat, maintaining low and slow cooking allows the mixture to thicken gently. This method ensures the final product achieves that smooth, silky consistency that homemade dulce de leche is known for. Stirring constantly is another critical aspect of the homemade dulce de leche process. Keeps the mixture from sticking to the saucepan while ensuring even cooking and preventing burnout.
Preparation/Setup
Preparation for homemade dulce de leche involves nothing more than gathering your ingredients and equipping your kitchen space. Start with a clean saucepan, a sturdy spatula, and an agile whisk. Keeping everything organized helps streamline the process. Place the sweetened condensed milk, baking soda, and salt into the saucepan, ensuring they mix together evenly.
Before heat comes into play, take a few moments to imagine all the delightful ways you will enjoy your homemade dulce de leche. Consider serving it drizzled over desserts, or perhaps use it as a dip for fruits. It can even stand as a starring ingredient in other recipes. Just having a jar of this delicious treat ready to go opens up a world of culinary creativity.
Ingredients
- 1 can of sweetened condensed milk
- 1/2 teaspoon of baking soda
- 1/4 teaspoon of salt
- 1 teaspoon of vanilla extract
Directions
- In a saucepan, combine the sweetened condensed milk, baking soda, and salt.
- Cook over low heat, stirring constantly for about 1 to 1.5 hours, until the mixture thickens and turns a caramel color.
- Once thickened, remove from heat and stir in the vanilla extract.
- Allow to cool before storing in jars. Enjoy!
Secrets to Crafting the Perfect Homemade Dulce de Leche
Technique
Mastering the technique of making homemade dulce de leche revolves around consistent stirring and precise temperature control. It may seem tedious, but the joy comes in the process. Keeping the heat low protects your mixture from burning and turns your sweetened condensed milk into the golden goodness of caramel.
Stir continuously throughout the cooking time, checking for the right consistency near the end. The final product should drape off the spoon in a thick ribbon. A sudden increase in temperature can lead to disastrous results. Therefore, keeping your patience is critical in this culinary journey.
Tips/Tricks
Several tips can help you during your homemade dulce de leche creation. First, prepare your workspace in advance. Clean utensils and ensure your saucepan is ready to go. This setup allows you to focus on the cooking process without distractions.
Next, monitor the heat carefully. As the mixture starts to bubble, continue stirring diligently and maintain that low heat. Keep a watchful eye on color changes, transitioning from light beige to the desired caramel hue. Timing is also essential; knowing when to remove it from the heat can significantly affect the flavor profile.
Lastly, immediately adding vanilla extract once thickened enhances the taste and aroma, elevating the richness of your dulce de leche. Experimenting with the quantity may yield exciting results in your next batch.
Perfecting Your Homemade Dulce de Leche
Perfecting Results
To achieve the perfect homemade dulce de leche, the consistency and flavor are paramount. The thick, syrupy texture is vital for enhancing desserts. Test the mixture by letting a spoonful cool – it should hold its shape yet remain pourable.
Rushing the cooking process typically leads to uneven results. Those golden caramel notes require time and tenderness. If you take that extra hour to nurture the mixture, you’ll find a much richer flavor that will serve your dessert needs perfectly.
Troubleshooting/Variations
Should your dulce de leche turn out too thin, simply return it to low heat, continuing to cook while stirring. For overly thick results, try adding a splash of milk and gently reheating to achieve the desired pourable consistency.
Variations of flavors can also enhance your creation. You can experiment further with ingredients like a pinch of cinnamon or a drop of almond extract mixed into the base during cooking. Create a delightful twist on traditional homemade dulce de leche that aligns beautifully with your personal taste.
Serving and Storing Your Homemade Dulce de Leche
Serving/Presentation
The joy of homemade dulce de leche comes from its presentation and versatility. Drizzle it over desserts like cheesecakes, brownies, or even churros for an added layer of flavor. It serves beautifully atop ice cream, making for a perfect sweet ending.
When serving, consider placing it in a decorative jar, showcasing the rich color and thick texture. Guests will be intrigued by its appearance and taste, enhancing the overall experience of your dishes.
Pairings/Storage
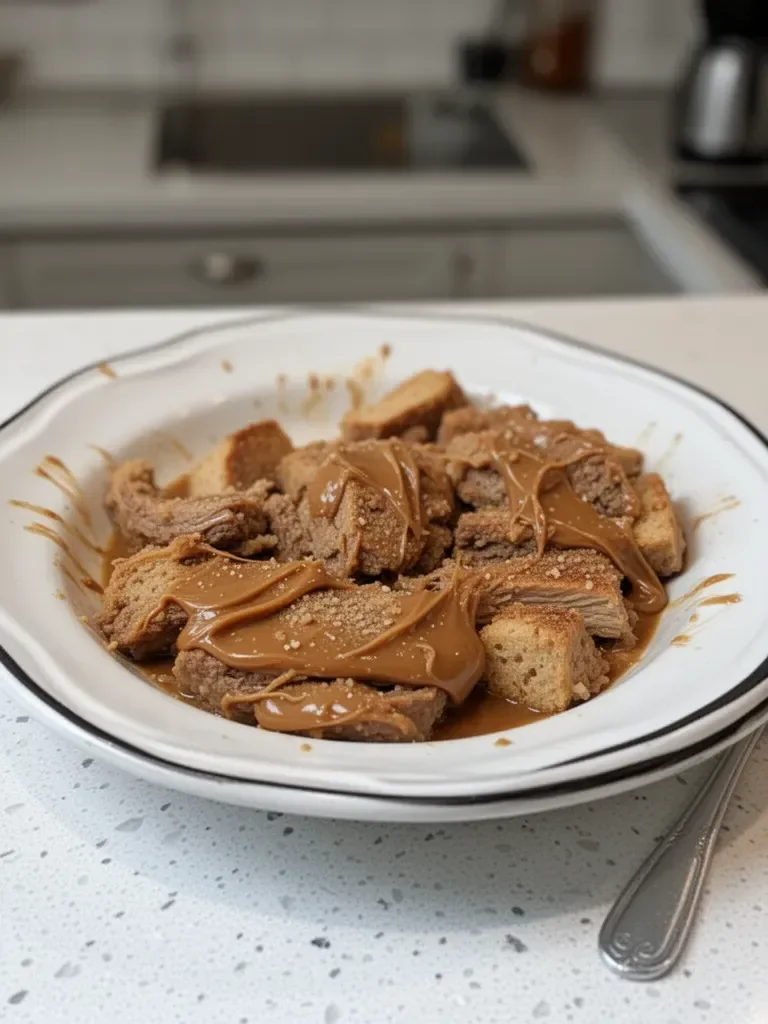
Think of your homemade dulce de leche as a complementary element rather than a standalone treat. Pair it with fruits like bananas or apples for a delightful twist. Spread it on toasted bread or use it as a filling for pastries.
For storage, ensure your homemade dulce de leche cools completely. Store it in airtight jars or containers, keeping it in the refrigerator to prolong freshness. It typically lasts up to two weeks, inviting you back into the kitchen for more delicious creation when your jars start to empty.
Creating homemade dulce de leche showcases not only the simplicity of the ingredients but also the beauty of taking the time to prepare something memorable. Treasure moments spent stirring over low heat, knowing each stir moves you closer to that velvety sweetness, a true delight that will enrich your desserts for weeks to come.
Print
Homemade Dulce de Leche
- Prep Time: 15 minutes
- Cook Time: 90 minutes
- Total Time: 105 minutes
- Yield: 2 cups
- Category: Dessert
- Method: Stovetop Cooking
- Cuisine: Latin American
- Diet: Vegetarian
Description
Easy and delicious homemade dulce de leche made from sweetened condensed milk, perfect for drizzling over desserts.
Ingredients
- 1 can of sweetened condensed milk
- 1/2 teaspoon of baking soda
- 1/4 teaspoon of salt
- 1 teaspoon of vanilla extract
Instructions
- Combine the sweetened condensed milk, baking soda, and salt in a saucepan.
- Cook over low heat, stirring constantly for about 60 to 90 minutes, until the mixture thickens and turns a caramel color.
- Remove from heat and stir in the vanilla extract.
- Allow to cool before storing in jars. Enjoy!
Notes
Store in airtight jars in the refrigerator for up to two weeks.
