📑 Table of Contents ▶
5 Ingredient Baked Coconut Shrimp
Crafting the perfect seafood dish can evoke memories of lazy summer days spent by the ocean, watching the waves lap against the shore. Baked coconut shrimp takes me back to those sun-soaked beaches where fresh seafood became a staple of culinary exploration. Each bite of this dish offers a delightful crunch paired with the sweetness of coconut, delivering a tropical experience right in your home.
The allure of 5 ingredient baked coconut shrimp lies not just in its simplicity but also in its ability to bring people together. Gathering around the table to enjoy flavorful shrimp, golden-brown and crispy, sparks joy and conversation. I cherish those moments when friends and family share their thoughts on the lovely combination of flavors in every bite. This recipe, with its minimal ingredients, ensures anyone can create a gourmet-style dish effortlessly.
This dish stands out as a casual appetizer or main meal, satisfying seafood cravings without a fuss. With just a handful of ingredients—shrimp, eggs, breadcrumbs, coconut, and a sweet dipping sauce—you can whip up a stunning treat that’s sure to impress everyone at the table. Let’s dive into the world of baked coconut shrimp, where flavor meets ease in every crispy piece.
The Basics of Baked Coconut Shrimp
Fundamentals
Understanding the fundamentals of baked coconut shrimp sets the stage for a delightful experience. Start by selecting high-quality shrimp. Look for raw shrimp that is still with the tail on for that classic presentation. The natural sweetness of shrimp blends perfectly with the toasted coconut, creating a balance that elevates this dish.
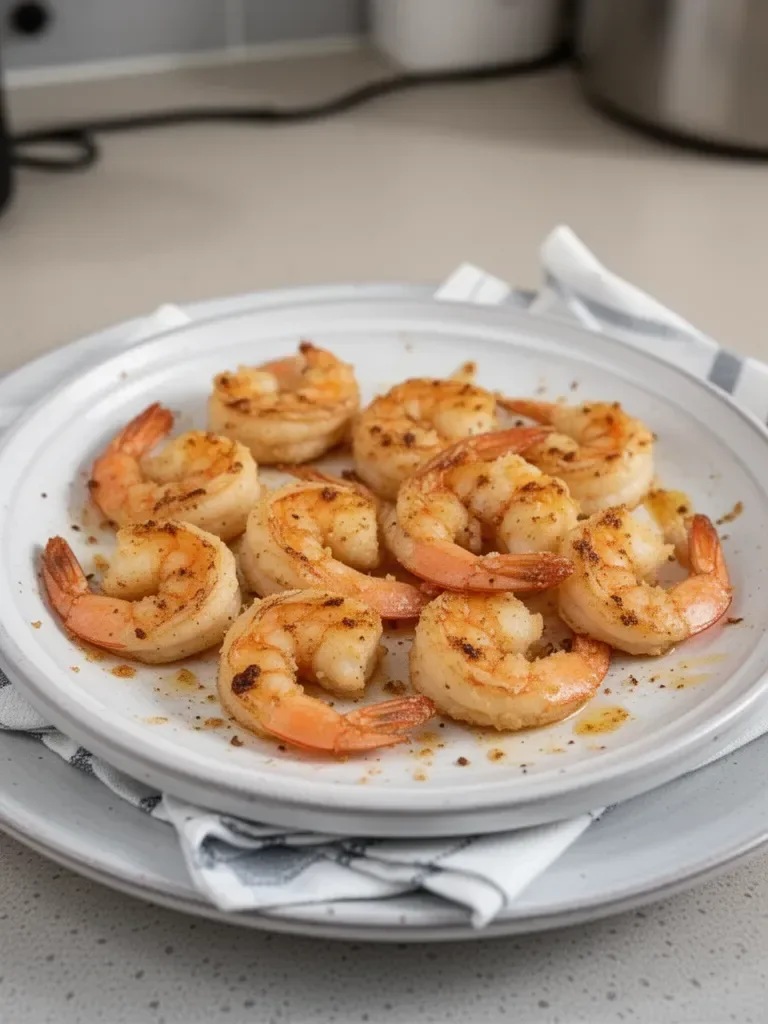
Baking shrimp rather than frying keeps this recipe both light and healthier. The oven works its magic, creating crispy exteriors without the extra oil. The method focuses on achieving a golden-brown hue, ensuring that you experience that satisfying crunch in every bite.
Preparation and Setup
Preparation begins with gathering all your ingredients. You will need twelve ounces of peeled shrimp, two whisked eggs, half a cup of breadcrumbs, half a cup of shredded coconut, and a handful of essentials to make the dipping sauce. Each step in this process not only simplifies the cooking experience but also enhances the flavors of the dish.
Set your oven to preheat at 425F. This temperature is crucial for achieving that crispy texture. As the oven warms up, prepare your ingredients by whisking the eggs in a small bowl. On another plate, combine the breadcrumbs and shredded coconut, ensuring they blend seamlessly. This preparation lays the groundwork for a smooth cooking experience.
Ingredients
- 8 ounces shrimp, raw, thawed and tail on
- 2 eggs, whisked
- 1/2 cup plain breadcrumbs (panko or regular works; GF if necessary)
- 1/2 cup shredded coconut
- Cooking spray
- 1/4 cup sweet chili sauce
- 1 tbsp sweet orange marmalade (apricot jam will work too)
Directions
- Whisk the two eggs in a small bowl and set aside.
- Combine breadcrumbs and coconut flakes on a separate plate and set aside.
- Preheat the oven to 425F.
- Pat dry raw, tail-on shrimp using a paper towel or dish cloth.
- Dip each shrimp into the egg wash, then immediately into the breadcrumb and coconut mixture.
- Place each shrimp on a baking rack on top of a baking sheet.
- Once each shrimp is dipped, spray with cooking spray on the baking rack.
- Bake at 425F for 10 minutes.
- While the shrimp is baking, combine the ingredients for the dipping sauce in a bowl and stir to combine.
- Once the 10 minutes is up, remove from the oven and enjoy immediately!
Mastering Baked Coconut Shrimp
Technique
The technique behind baked coconut shrimp centers around effective breading. Dip each shrimp into the egg wash to ensure the coating adheres properly. Coat generously with breadcrumbs and coconut mixture for a delightful crunch.
Frequent practice will refine your technique, ensuring each shrimp comes out perfectly. Pay attention to the oven’s temperature; an overly hot oven can lead to burnt shrimp, while a cooler oven might result in soggy bites.
Tips and Tricks
Using panko breadcrumbs will give you additional crunch thanks to their airy texture. If you want a gluten-free option, ensure your breadcrumbs are certified gluten-free. Tail-on shrimp not only look beautiful but also retain moisture better during the cooking process.
For an extra layer of flavor, consider adding spices to the breadcrumb mixture, such as garlic powder or a pinch of cayenne for a hint of heat. Experimenting with different spices can elevate your dish, allowing you to personalize it to your taste.
Fine-tuning Your Coconut Shrimp
Perfecting Results
Achieving perfect baked coconut shrimp takes practice. Keep an eye on cooking times. The shrimp should turn a lovely golden brown, signaling they are done. Overbaking can lead to rubbery textures, so timing is essential.
In addition to timing, check the shrimp for doneness. They should be opaque and firm to the touch once done. Using a digital thermometer can help and ensure an internal temperature of 120F.
Troubleshooting and Variations
Some may find that their shrimp doesn’t get as crispy as desired. This can stem from not drying the shrimp well enough before coating them. Ensure you use a paper towel to remove excess moisture.
If you’re feeling adventurous, try adding zest from a lime or orange into the breadcrumb mixture for a citrusy note. You can even swap the coconut for crushed nuts for different flavor profiles.
Exploring Serving and Storage Options
Serving and Presentation
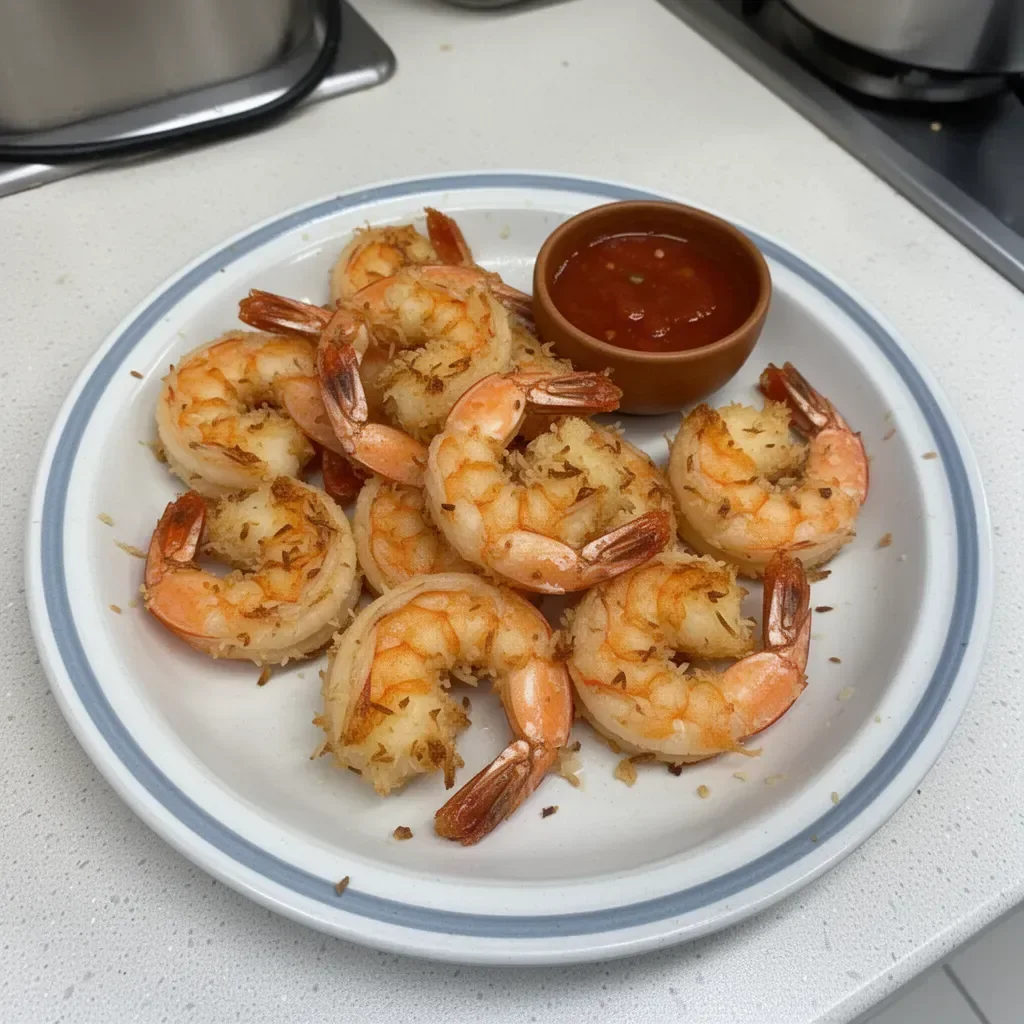
Baked coconut shrimp shines as an appetizer or main dish. Serve on a platter alongside a sweet chili dipping sauce, garnished with lime wedges for a pop of color. Presentation matters and can enhance the dining experience.
Arranging shrimp beautifully on a tiered stand creates elegance at family gatherings or parties. Feel free to provide small bowls of dipping sauce for personal servings.
Pairings and Storage
Though this shrimp stands strong on its own, pair it with a fresh salad or a tropical fruit salsa for a mouthwatering combination. A light dipping sauce enhances the flavors beautifully.
Storing leftover baked coconut shrimp can help you enjoy this dish later. Keep them in an airtight container in the refrigerator for up to two days. Reheating in an oven keeps the texture crispy. Avoid using a microwave as it could lead to a soggy texture.
Baked coconut shrimp brings both tropical flair and culinary ease to your table. The combination of tender shrimp and a crispy coconut crust creates a satisfying dish, perfect for any occasion. This recipe triumphs in simplicity and flavor with minimal ingredients that inspire creativity and joy in cooking. Perfect for family dinners or gatherings, coconut shrimp remains a beloved choice.
Print
5 Ingredient Baked Coconut Shrimp
- Prep Time: 15 minutes
- Cook Time: 10 minutes
- Total Time: 25 minutes
- Yield: 4 servings
- Category: Appetizer
- Method: Baking
- Cuisine: Seafood
- Diet: Gluten-Free Option
Description
A simple and delightful baked coconut shrimp recipe that brings a taste of the tropics to your home with minimal ingredients for maximum flavor.
Ingredients
- 8 ounces raw shrimp, thawed and tail on
- 2 eggs, whisked
- 1/2 cup plain breadcrumbs (panko or regular)
- 1/2 cup shredded coconut
- Cooking spray
- 1/4 cup sweet chili sauce
- 1 tbsp sweet orange marmalade (or apricot jam)
Instructions
- Whisk the two eggs in a small bowl and set aside.
- Combine breadcrumbs and coconut flakes on a separate plate and set aside.
- Preheat the oven to 425°F.
- Pat dry raw shrimp using a paper towel.
- Dip each shrimp into the egg wash, then into the breadcrumb and coconut mixture.
- Place the shrimp on a baking rack over a baking sheet.
- Spray the shrimp with cooking spray.
- Bake at 425°F for 10 minutes.
- Combine the dipping sauce ingredients in a bowl and stir.
- Enjoy immediately after baking!
Notes
For extra crunch, use panko breadcrumbs. Ensure shrimp are dried well before coating.
