📑 Table of Contents ▶
- Homemade Lobster Bisque
- Creating the Perfect Homemade Lobster Bisque
- Fundamentals
- Preparation/Setup
- Mastering the Art of Lobster Bisque
- Technique
- Tips/Tricks
- Refining Your Lobster Bisque
- Perfecting Results
- Troubleshooting/Variations
- Serving Your Homemade Lobster Bisque
- Serving/Presentation
- Pairings/Storage
- Conclusion
- FAQs – Homemade Lobster Bisque
Living by the sea has woven a love for seafood into the very fabric of my life. Growing up, weekends meant fresh catches and family gatherings filled with laughter, crackling garlic butter, and the sweet, briny scent of lobsters steaming in the kitchen. The joy of creating a homemade lobster bisque is akin to capturing those cherished memories in a bowl. Each sip brings back whispers of the sea breeze and the warmth of shared meals.
This passion for seafood translates into my approach to cooking. I believe in making seafood dishes accessible to everyone, ensuring that the flavors shine through simple yet effective techniques. A homemade lobster bisque is a delight, not only because of its rich, creamy texture but also because of the sense of accomplishment that comes with crafting it from scratch.
With each step, from preparing the lobsters to infusing the broth with fresh herbs, the process itself becomes a rewarding journey. It’s about more than just cooking; it’s about creating a moment of indulgence, a small piece of coastal heaven, right in your kitchen. Let’s dive into the fundamentals and prepare a perfect homemade lobster bisque experience.
Print
Homemade Lobster Bisque
- Prep Time: 35 minutes
- Cook Time: 110 minutes
- Total Time: 145 minutes
- Yield: 8
- Category: Main Course
- Method: Boiling
- Cuisine: American
Description
Learn how to make a delicious homemade lobster bisque from scratch with this easy recipe. Perfect for seafood lovers, elevate your culinary skills today!
Ingredients
- 4 live lobsters (560g)
- 1 stick unsalted butter (115g), plus more for garnish
- 1/3 cup vegetable oil (80ml)
- 2 medium carrots (340g), diced
- 2 medium yellow onions (450g), diced
- 4 large celery ribs (170g), diced
- 4 medium cloves garlic, crushed
- 2 tablespoons tomato paste (25g)
- 1 cup apple juice (240ml)
- 5 cups homemade chicken stock or store-bought low-sodium chicken broth (1.2L)
- 3 sprigs flat-leaf parsley, plus minced leaves and tender stems for garnish
- 3 sprigs tarragon, plus minced leaves for garnish
- 1 bay leaf
- 1/2 cup coconut cream (120ml)
- Salt and freshly ground black pepper
- Cayenne pepper, to taste
- Minced fresh chives, for garnish
- Ground coriander seed, to taste
Instructions
- Utilize a sturdy chef’s knife to humanely dispatch each lobster by inserting the knife tip into the indentation situated just behind and between the eyes. Apply firm pressure, then split the head in two. With kitchen towels, detach the tail and claws (including knuckles) from each lobster shell.
- Position a cutting board on a rimmed baking sheet on your work surface. Place a steamer insert at the base of a generously sized stockpot with a lid, and pour in an inch of water. Heat until boiling on high. Insert the lobster tails, cover with the lid, and steam for 2 minutes and 30 seconds. Remove the tails and place them on the cutting board. Ensure the water remains at a vigorous boil, then add the claws, cover the pot, and steam for 3 minutes. Remove the claws and transfer them to the cutting board. Keep the water in the steamer, which will now contain lobster essence.
- Once the lobster is cool enough to handle, extract the meat from tails, claws, and knuckles using kitchen shears, lobster crackers, or the back of a cleaver to assist in cracking the shells. (It’s alright if the meat becomes slightly damaged.) Retain the shells; separately save any liquids collected in the rimmed baking sheet. Cut the lobster meat into pieces about 1-inch in size and place in the refrigerator.
- With a heavy chef’s knife, chop the lobster bodies into large segments (do not discard any parts).
- In a large Dutch oven or stockpot, combine butter with vegetable oil and warm over medium-high heat until the butter melts completely and begins to foam. Add a layer of lobster bodies and shells to cover the base of the pot, cooking while stirring and scraping, until browned, roughly 5 minutes. Include the remaining lobster bodies and shells, continuing to cook and stir frequently, until all segments are bright red, thoroughly cooked, and browning at the pot’s bottom, for about 8 minutes more.
- Introduce the carrots, onions, celery, and garlic, cooking while stirring and scraping the pot’s bottom until the vegetables start to soften and another layer of browning forms, around 5 minutes. Mix in the tomato paste and cook for 1 minute.
- Pour in the grape juice (exercise caution if using a gas flame to prevent accidental ignition) and cook, stirring and scraping the pot’s bottom, until most of the grape juice evaporates and the raw alcohol scent dissipates. Add apple juice, bring to a simmer, and cook, stirring and scraping up any browned bits, until the alcohol smell is gone.
- Add the reserved lobster-steaming water and collected lobster juices (aim for around 3 or 4 cups of lobster liquid) along with chicken stock. There should be just enough liquid to barely immerse the shells; if not, add water until they are barely submerged. Include the parsley sprigs, tarragon sprigs, and bay leaf.
- Bring to a boil, then reduce the heat and let it gently simmer, uncovered, for 1 hour.
- Filter the lobster stock, pressing firmly on the shells to extract as much liquid as possible; reserve the solids. If necessary, blend the lobster stock in batches. Pick out about 2 cups of cooked vegetables from the reserved stock solids and add to the blender. Add coconut cream and process, starting at a low speed and increasing to high, until the soup is entirely smooth. Repeat with any remaining lobster stock. If a thicker broth is desired, blend in more of the cooked vegetables from the stock (or include cooked rice).
- Strain the blended soup through a fine-mesh sieve into a clean pot, using a wooden spoon or ladle to work everything through; only tiny bits of lobster shell should remain in the strainer once finished. (Though this process can be slow, it’s essential to remove any shell fragments.)
- Reheat the soup, ensuring it does not boil to prevent the cream from curdling. Season with salt and black pepper, along with a hint of cayenne for a gentle warmth (it should not be overtly spicy). Keep the soup warm.
- When ready to serve, melt approximately 2 tablespoons of unsalted butter per serving in a skillet over medium-high heat until foamy. Add the lobster meat (around 1/4 cup per serving) and cook, stirring and tossing, until just cooked through, 1 to 2 minutes. Combine with minced parsley, tarragon, and chives, tossing to coat. Season with salt and pepper, adding a sprinkle of ground coriander to taste.
- Pour the broth into pre-heated bowls and add the lobster meat garnish and herb butter to each. If not serving immediately, the soup base and reserved partially-cooked lobster meat can be stored in the refrigerator, separately, for up to 2 days. Reheat the soup (without boiling) and finish preparing the remaining lobster meat as directed to serve.
Notes
- Utilize lobster shells to create a flavorful stock for the soup base.
- Incorporate cooked vegetables for added texture and depth.
- Strain the blended soup carefully for a smooth consistency, removing any shell fragments.
Creating the Perfect Homemade Lobster Bisque
Fundamentals
Creating a memorable homemade lobster bisque starts with the freshest ingredients. The star of this dish is, of course, the lobster. Selecting live lobsters ensures that the bisque will have the richest flavor. The process of dispatching them might seem daunting, but it’s essential for maintaining the quality of the dish. A swift cut with a chef’s knife behind the eyes is the most humane method.
Once the lobsters are prepared, the key is in the broth. The combination of lobster shells, vegetables, and herbs creates a depth of flavor that is unparalleled. Adding elements like tomato paste and apple juice introduces a subtle sweetness, balancing the savory notes and enhancing the lobster’s natural taste.
Preparation/Setup
Before diving into cooking, gather all your ingredients and tools. A large stockpot is crucial for steaming the lobsters and creating the base of the bisque. Prepare the vegetables, ensuring they are diced evenly to cook uniformly. As you work, remember to keep the lobster water, as it contains essential flavors that will enhance the broth.
Organization is key. Having everything ready allows you to focus on each step, from steaming the lobsters to simmering the broth. This not only ensures a smoother cooking experience but also helps in maintaining the quality and taste of the homemade lobster bisque.
Mastering the Art of Lobster Bisque
Technique
The technique of making lobster bisque lies in building layers of flavor. Start by browning the lobster shells in butter and oil, which releases a rich aroma and forms the first layer of taste. Adding diced vegetables to the mix further deepens the flavor profile, while tomato paste adds a touch of umami.
As you cook, constantly stir and scrape the pot’s bottom to prevent sticking and ensure even cooking. This step is crucial for extracting maximum flavor from the lobster shells and vegetables, which forms the heart of your bisque.
Homemade Lobster Bisque
Tips/Tricks
One tip for a seamless bisque experience is to use a fine-mesh sieve for straining the broth, ensuring a smooth texture free of shell fragments. To maintain the bisque’s creamy consistency, avoid boiling once the coconut cream is added. Instead, gently reheat to preserve its velvety texture.
For a hint of spice, a touch of cayenne pepper can elevate the bisque without overpowering the delicate lobster flavor. Remember to season gradually, tasting as you go, to achieve the perfect balance.
Refining Your Lobster Bisque
Perfecting Results
To perfect your homemade lobster bisque, focus on the details. The quality of your stock directly impacts the final dish. Ensure that the broth is simmered long enough to extract every essence from the lobster shells and vegetables. This step is key to achieving the rich, complex flavors that define a great bisque.
Blending the broth with coconut cream adds a luxurious, creamy texture. If you desire a thicker consistency, incorporate more of the cooked vegetables during blending. This not only enhances the texture but also intensifies the flavor.
Troubleshooting/Variations
If your bisque isn’t as flavorful as expected, consider simmering the broth longer or adding a pinch of salt to enhance the taste. For those looking to experiment, try incorporating different herbs or spices to customize your bisque. Each variation can bring a new dimension to this classic dish.
For a different twist, consider combining lobster with other seafood. A simple lobster and shrimp bisque can offer a delightful variation, adding a new layer of flavor while maintaining the essence of the original recipe.
Serving Your Homemade Lobster Bisque
Serving/Presentation
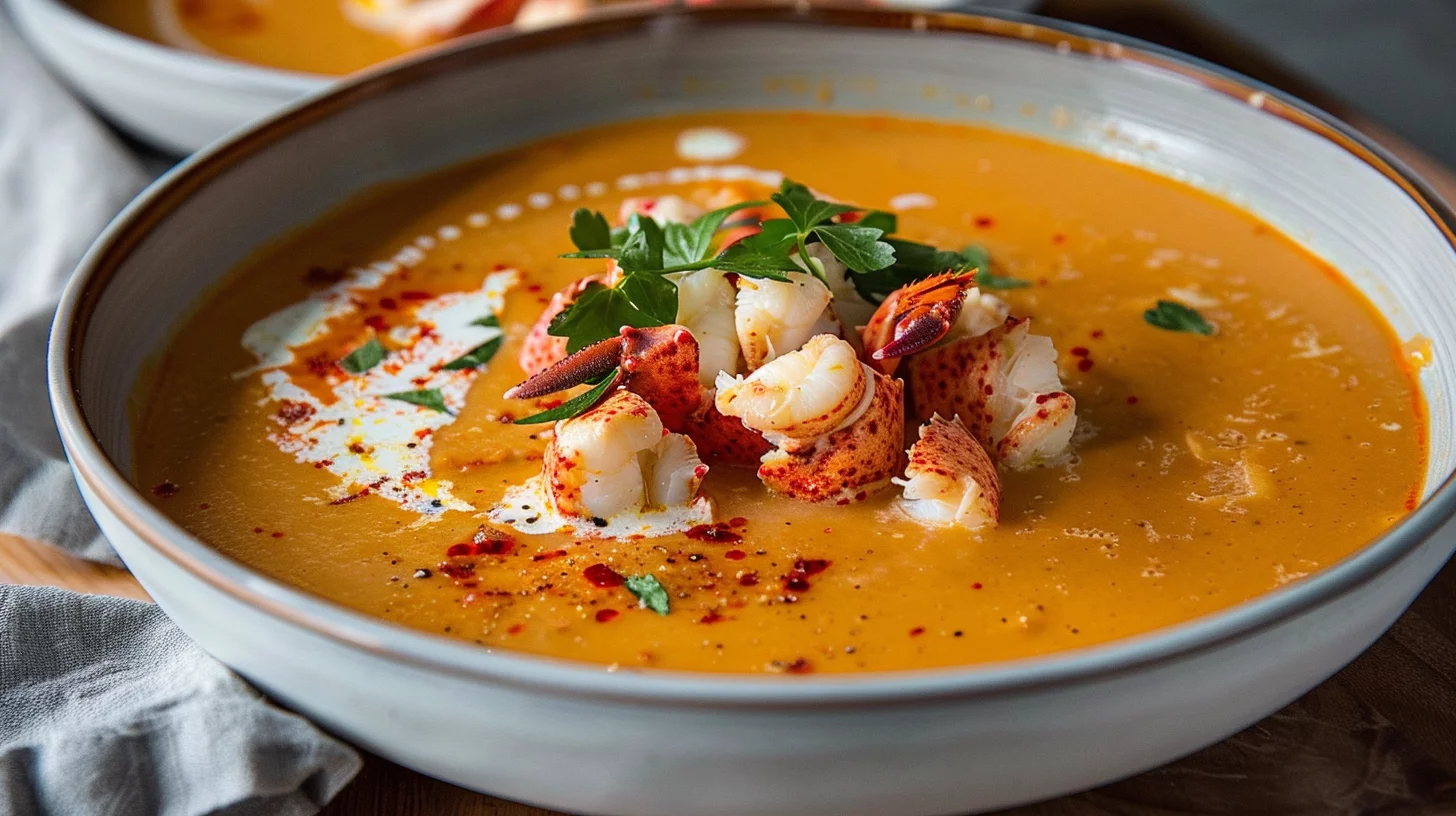
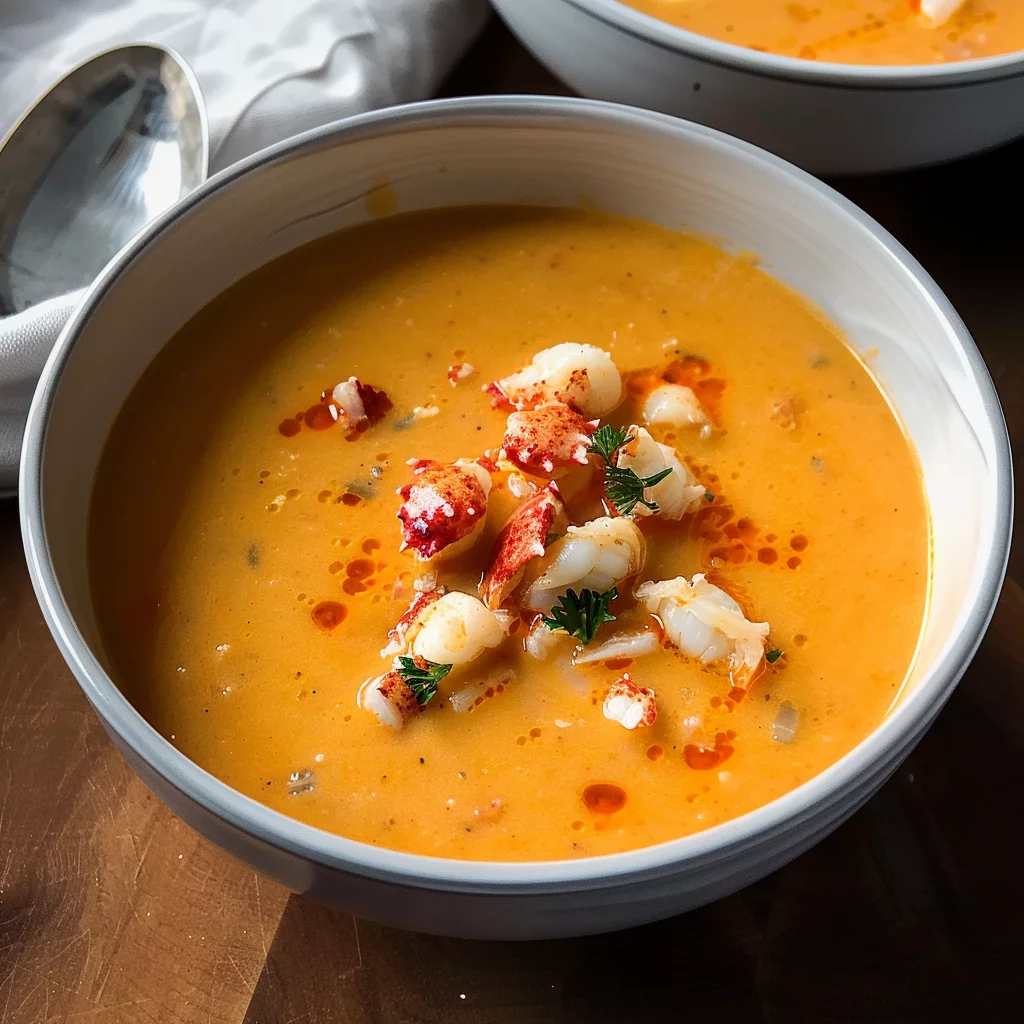
Presentation is the final touch that elevates your homemade lobster bisque. Serve in pre-heated bowls to keep the bisque warm longer. Garnish with fresh herbs like parsley, tarragon, and chives, which add a burst of color and freshness to each serving.
For added indulgence, prepare a herb butter with lobster meat as a garnish. This not only enhances the bisque’s flavor but also adds a delightful texture contrast, making each spoonful a rich experience.

Homemade Lobster Bisque
Pairings/Storage
Pair your homemade lobster bisque with a crisp salad or a slice of crusty bread to complement its rich, creamy flavors. For storage, keep the soup base and lobster meat separate in the fridge. This allows you to reheat the bisque gently without affecting the texture of the lobster, ensuring each bowl is as delightful as the first.
If you’re interested in more seafood delights, try our lobster and shrimp bisque recipe for a flavorful twist or explore the art of cooking with sous-vide by visiting Sous Vide Lobster Tails for perfectly cooked lobster every time.
Conclusion
Crafting a homemade lobster bisque is a culinary journey that combines tradition with creativity. The key takeaways are the importance of fresh ingredients, the art of layering flavors, and the joy of personalizing the dish to suit your taste. By mastering these elements, you create a bisque that is not only a feast for the senses but also a testament to the rich, comforting flavors of the sea.
The strengths of a homemade lobster bisque lie in its ability to transform simple ingredients into a luxurious dining experience. Whether served as a starter or a main course, its rich flavors and creamy texture make it a standout dish. By following these techniques, you ensure each bowl is a perfect blend of flavor, texture, and presentation, embodying the essence of coastal cooking.
