📑 Table of Contents ▶
- Mongolian Shrimp
- Mongolian Shrimp: The Seafood Essential
- Fundamentals
- Preparation/Setup
- Mastering Mongolian Shrimp Techniques
- Technique
- Tips/Tricks
- Perfecting Your Mongolian Shrimp
- Perfecting Results
- Troubleshooting/Variations
- Serving Mongolian Shrimp with Style
- Serving/Presentation
- Pairings/Storage
- Conclusion
- FAQs – Mongolian Shrimp
Living by the sea has its perks—like having fresh seafood as a staple in my kitchen. There’s something magical about the way the ocean breeze mingles with the savory aroma of Mongolian Shrimp sizzling in the pan. This dish has become a family favorite, reminiscent of sunlit days and the rhythmic sound of waves crashing on the shore.
Years ago, I stumbled upon the Mongolian Shrimp recipe while experimenting with flavors inspired by my coastal roots. The combination of tender shrimp, garlic, and ginger creates an irresistible symphony of taste that never fails to impress. Every bite transports me back to cozy family dinners, where laughter and stories flowed as freely as the tide.
This dish isn’t just about the flavors; it’s about the experience of creating something delightful. It’s about the joy of cooking with loved ones, sharing a meal, and savoring the simplicity of fresh ingredients. If you’re a seafood enthusiast looking to add a touch of elegance to your dining table, Mongolian Shrimp is the perfect recipe to try.
As we dive into this recipe, you’ll find that Mongolian Shrimp is not only delicious but also accessible, even for those new to seafood cooking. Let’s explore how to bring this coastal delight into your home kitchen.
Print
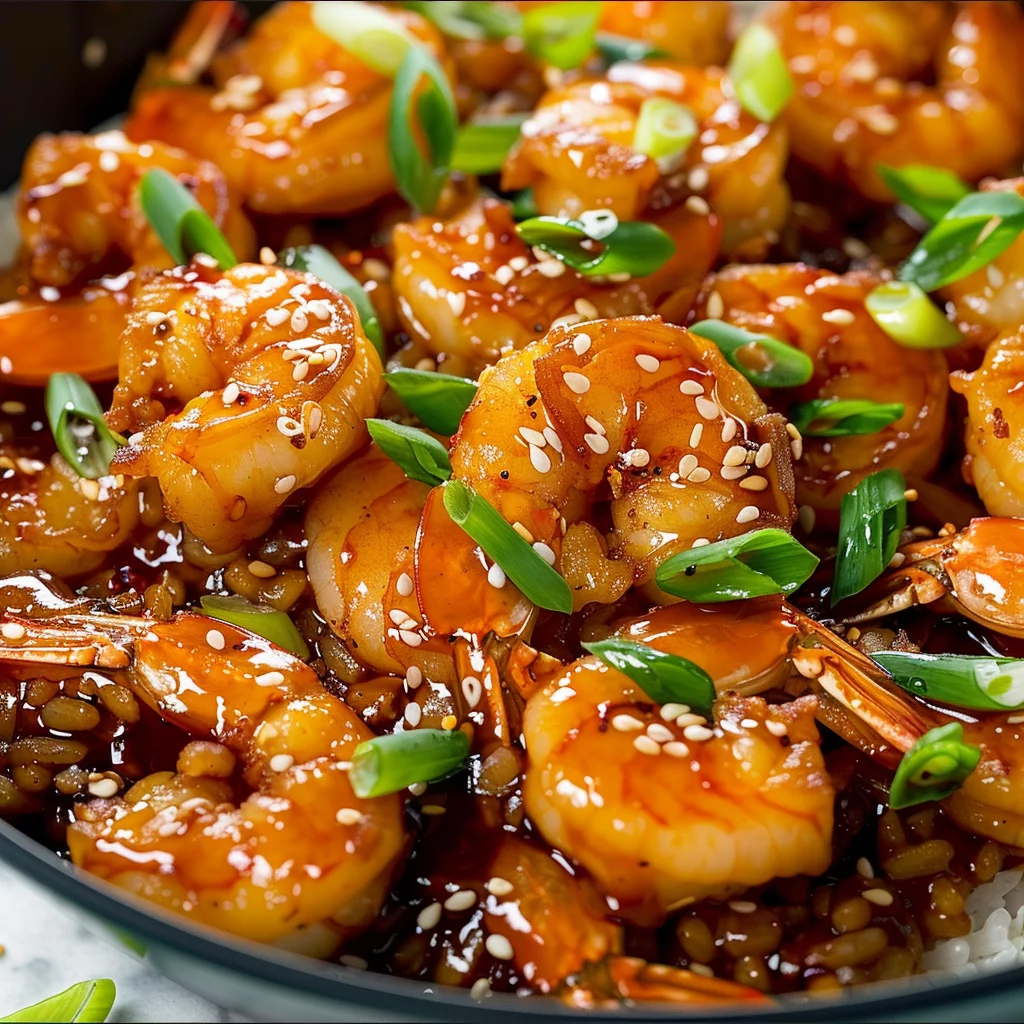
Mongolian Shrimp
- Prep Time: 20 minutes
- Cook Time: 10 minutes
- Total Time: 30 minutes
- Yield: 4 servings
- Category: Main Course
- Method: Frying
- Cuisine: Asian
Description
Discover how to make delicious Mongolian Shrimp at home with this easy recipe. Learn the secrets to creating a flavorful and savory dish that will impress your family and friends.
Ingredients
- – 1 lb (450 g) large shrimp, deveined and shell off
- – 2 egg whites, whisked
- – 1/2 cup (120 ml) tapioca flour or arrowroot flour, potato starch, or cornflour
- – 1/3 cup (80 ml) avocado oil or melted coconut oil for frying
- – 1 tablespoon (15 ml) garlic, about 3 cloves, finely minced or diced
- – 2 teaspoons (10 ml) ginger, freshly grated
- – 1/4 cup (60 ml) water
- – 1/3 cup (80 ml) soy sauce or Tamari or coconut aminos
- – 1/4 cup (60 ml) Hoisin sauce
- – 2 tablespoons (30 ml) honey or brown sugar or coconut sugar
- – 1 tablespoon (15 ml) sesame oil
- – 1/2 teaspoon (3 ml) chili flakes or red chili pepper powder
- – 1/4 cup (60 ml) chopped green onions or scallions
- – For garnish: 1 teaspoon (5 ml) sesame seeds, optional
- – To serve: rice, broccoli, or other greens (bok choy, etc)
Instructions
- Remove the shells and veins from the shrimp, drying them thoroughly with a paper towel to ensure they crisp up nicely when coated and fried.
- Slice the shrimp along the back to create a butterfly effect, being careful not to cut all the way through, then set them aside.
- In one bowl, whisk the egg whites until they become frothy. Prepare another bowl with the starch.
- Warm the oil in a skillet or frying pan over medium-high heat. When the oil is hot, start cooking the shrimp. Dip each shrimp in the egg white mixture, then coat it with the starch, shaking off any excess before gently placing it in the hot oil. Fry for approximately 2 minutes per side until they are golden and crispy. Transfer the cooked shrimp to a plate lined with a paper towel.
- While frying the shrimp, prepare the sauce by whisking all the ingredients together, except for the garlic and ginger, in a separate bowl.
- After all the shrimp are cooked, remove the extra oil from the pan, either by pouring it out or using a paper towel to soak it up, leaving a small amount behind for the next step.
- Keep the pan on medium-high heat and add the minced garlic and ginger. Stir them for 30 seconds to a minute, being careful not to let them brown too much. Add the sauce mixture, stirring until it begins to bubble and thicken slightly. Return the cooked shrimp to the pan, mixing them with the sauce.
- Turn off the heat and sprinkle the dish with green onions and sesame seeds.
- Serve the shrimp with rice and your choice of vegetables or salad on the side.
Notes
- Thoroughly dry shrimp with a paper towel before frying for a crispy texture.
- Avoid overcrowding the pan when cooking shrimp to ensure even frying.
- Customize spice level by adjusting chili flakes or red chili pepper powder.
Mongolian Shrimp: The Seafood Essential
Fundamentals
Understanding the fundamentals of Mongolian Shrimp starts with choosing quality shrimp. Look for large, fresh shrimp that are already deveined to save time. The quality of the shrimp will directly impact the taste and texture of the dish. Fresh shrimp should have a mild sea breeze aroma, not a strong fishy smell.
In addition to shrimp, the sauce is crucial to achieving the perfect Mongolian flavor. Combining soy sauce, hoisin, and honey creates a sweet and savory profile that enhances the shrimp’s natural sweetness. The addition of garlic and ginger provides depth and a fragrant aroma that ties everything together.
Preparation/Setup
Start by preparing the shrimp. Remove the shells and veins and dry them thoroughly with a paper towel. This ensures that the shrimp will fry to a perfect crisp. To achieve the signature butterfly effect, carefully slice along the back of each shrimp without cutting all the way through.
Set up a workstation with two bowls: one for whisked egg whites and another for the starch. Having everything ready before you start cooking will streamline the process and help you focus on achieving the perfect texture and flavor.
Mastering Mongolian Shrimp Techniques
Technique
The frying technique is key to creating crispy, golden shrimp. Heat avocado or coconut oil in a skillet over medium-high heat until it shimmers. This ensures the shrimp cook quickly and evenly, sealing in their natural juices and flavor.
Dip each shrimp into the egg whites, then coat them with starch, shaking off any excess. The starch coating creates a thin, crispy shell that complements the succulent shrimp inside. Fry them for about two minutes per side, or until they turn a beautiful golden brown.
Mongolian Shrimp
Tips/Tricks
Keep an eye on the oil temperature to prevent the shrimp from burning or becoming greasy. Adjust the heat as needed to maintain a consistent frying temperature. If you love creative seafood dishes, you’ll definitely want to try these Honey Garlic Shrimp Sausage and Broccoli for a delightful twist.
For extra flavor, add chili flakes or red chili pepper powder to the sauce. This adds a subtle heat that balances the sweetness of the honey and enhances the overall taste profile.
Perfecting Your Mongolian Shrimp
Perfecting Results
Once the shrimp are cooked, it’s time to focus on perfecting the sauce. After removing excess oil from the pan, sauté the garlic and ginger until fragrant. This step is essential for infusing the oil with flavor, creating a rich base for the sauce.
Whisk together the sauce ingredients and pour them into the pan, stirring until the mixture bubbles and thickens slightly. Add the shrimp back to the pan, ensuring each piece is coated in the savory sauce.
Troubleshooting/Variations
If your sauce is too thick, add a splash of water to reach the desired consistency. Conversely, if it’s too thin, let it simmer for a bit longer to reduce and thicken. For more variations and seafood inspirations, check out Easy Shrimp and Broccoli.
Experiment with different starches, such as potato starch or arrowroot flour, to find your preferred texture. Each starch offers a slightly different crispiness and flavor profile.
Serving Mongolian Shrimp with Style
Serving/Presentation
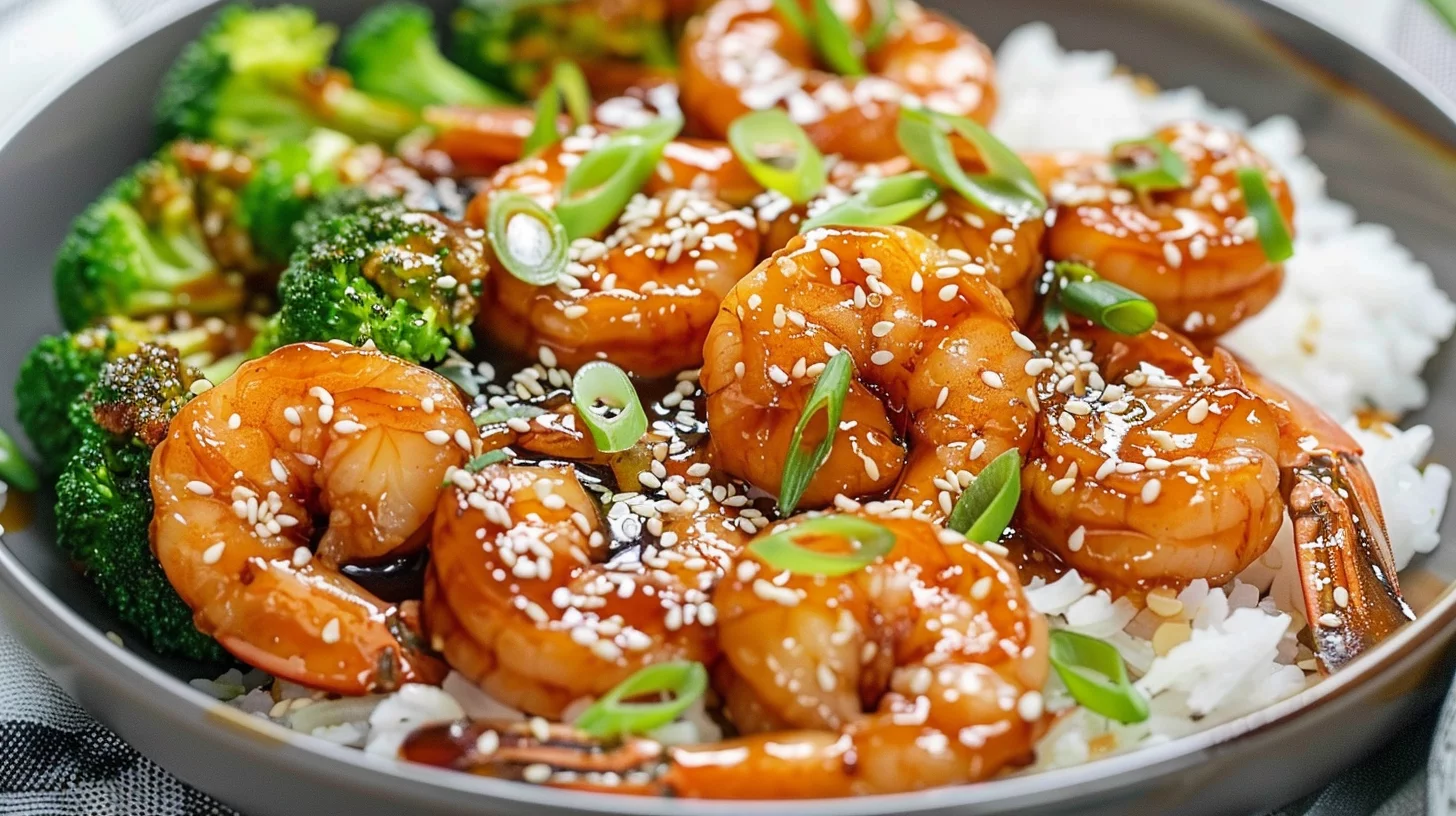
Presentation is everything when serving Mongolian Shrimp. Arrange the shrimp on a platter, garnishing with chopped green onions and sesame seeds for a burst of color and texture. This not only enhances the visual appeal but also adds a fresh, aromatic touch.
Pair the dish with steamed rice and vibrant vegetables like broccoli or bok choy to create a balanced meal. For more pairing ideas, consider trying 20 Minute Honey Garlic Shrimp and Rice Bowl for a quick and satisfying option.
Pairings/Storage
Leftovers can be stored in an airtight container in the fridge for up to two days. Reheat gently to maintain the shrimp’s crispiness and flavor. For an exciting variation, try using the shrimp in tacos, like these Shrimp and Steak Tacos.

Mongolian Shrimp
If you’re interested in exploring more shrimp dishes, check out this Shrimp and Asparagus Stir Fry with Mushrooms for a flavorful twist.
Conclusion
Mongolian Shrimp combines the best of seafood and Asian-inspired flavors, offering a delightful culinary experience. By mastering the techniques and tips outlined here, you can create a dish that is both impressive and satisfying.
Whether you’re hosting a dinner party or enjoying a quiet meal at home, Mongolian Shrimp is a versatile and crowd-pleasing option. Its perfect balance of sweet, savory, and spicy flavors makes it a standout addition to any seafood lover’s repertoire.
With this recipe, you have the tools to bring a taste of the coast into your kitchen, elevating your cooking to new heights. Enjoy the process and savor each bite of this exquisite dish.
