📑 Table of Contents ▶
- Part 1 — Understanding Spicy Tuna Rice Balls
- Fundamentals
- Preparation/Setup
- Directions
- Part 2 — Mastering the Technique of Rice Balls
- Technique
- Tips/Tricks
- Part 3 — Perfecting Your Rice Balls
- Perfecting Results
- Troubleshooting/Variations
- Part 4 — Serving and Storing Rice Balls
- Serving/Presentation
- Pairings/Storage
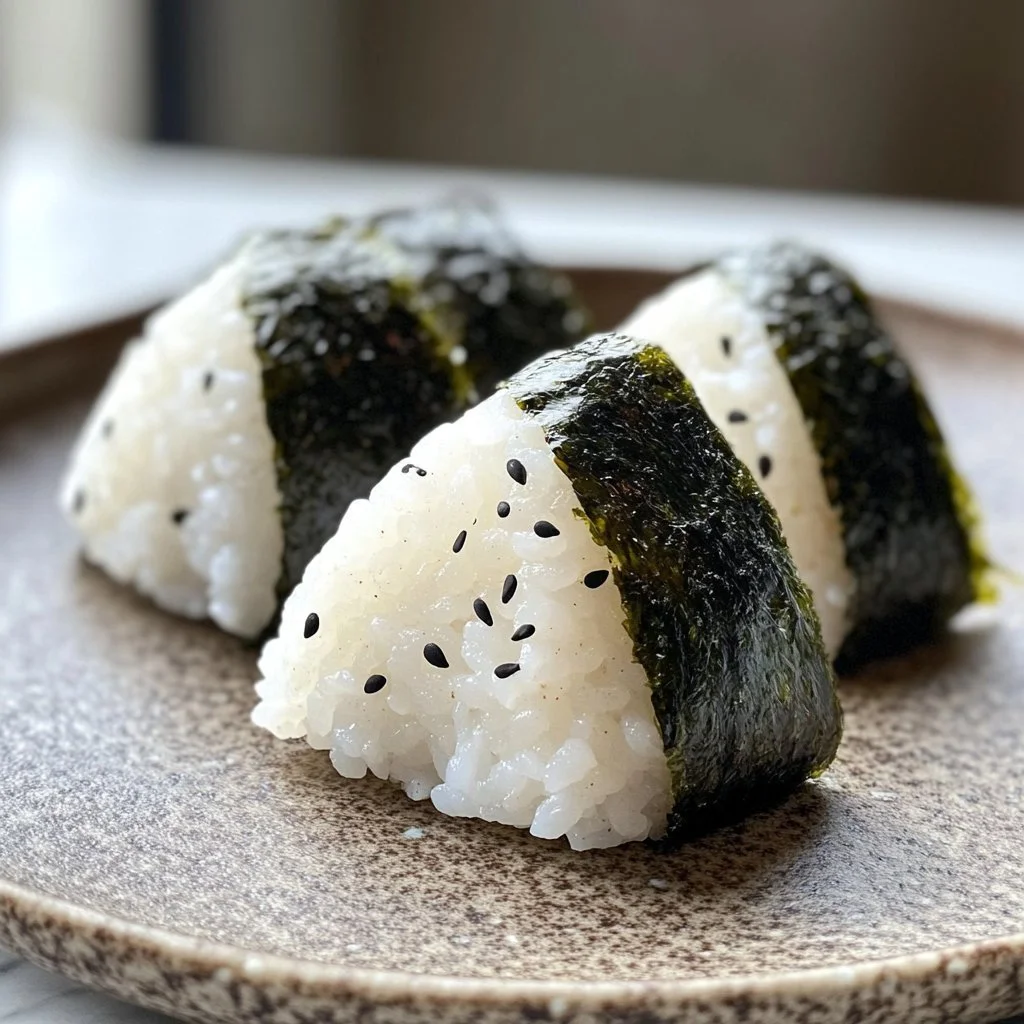
Spicy Tuna Rice Ball
Personal stories often reveal the heart behind culinary creations. One of my favorite childhood memories takes me back to the bustling kitchen of my grandmother, where she would introduce the joys of sushi rice. She made simple yet delightful snacks that carried a flavor explosion, often using leftover fish and rice. The Spicy Tuna Rice Ball became a staple in our home—a tiny bundle of happiness that transformed ordinary ingredients into something special.
Every time I take a bite of these rice balls, nostalgia floods in. The combination of creamy Kewpie mayo and vibrant sriracha with tender, fluffy sushi rice echoes the flavors of my childhood. It brings warmth, comfort, and joy with every bite.
Crafting Spicy Tuna Rice Balls requires just a few ingredients but yields a delightful harmony of taste. With the right mix of rice and tuna, these little parcels of flavor remind us of home, tradition, and the power of good food. Let’s dive into creating these delicious snacks that will undoubtedly brighten any mealtime.
Part 1 — Understanding Spicy Tuna Rice Balls
Fundamentals
Spicy Tuna Rice Balls are more than just snacks—they’re a celebration of flavors. The key element, sushi rice, provides a unique texture that’s slightly sticky yet incredibly satisfying. This characteristic allows the rice to hold its shape when molded, making it essential for our rice balls.
The tuna mixture, dressed in Kewpie mayo and sriracha, contrasts beautifully with the rice’s neutral flavor. Kewpie mayo brings a creamy richness unique to Japanese cuisine. Sriracha adds a spicy kick, balancing the whole dish. Together, they create a filling that’s both savory and satisfying.
Adding nori sheets elevates these rice balls, offering a delightful crunch and a hint of umami. Whether you serve them as snacks or a meal, Spicy Tuna Rice Balls stand out for their simplicity and flavor.
Preparation/Setup
Setting up to make Spicy Tuna Rice Balls is straightforward. Start by gathering your ingredients: sushi rice, tuna, Kewpie mayo, sriracha, nori sheets, and optional toppings like sesame seeds and green onions.
The first step involves rinsing the sushi rice until the water runs clear. This crucial step removes excess starch and ensures you have perfectly fluffy rice. Cook the rice using a rice cooker or a pot, following the right water-to-rice ratio. Once cooked, let the rice cool slightly—this makes it easier to handle when forming your rice balls.
Next, prepare the tuna filling. Mix the drained tuna with Kewpie mayo and adjust the sriracha to match your spice preference. This mixture is your secret weapon, adding flavor and creaminess to your rice balls.
Ingredients
- 2 cups sushi rice
- 2 ½ cups water
- 1 can tuna, drained
- ¼ cup Kewpie mayo
- 1 tbsp sriracha (adjust to taste)
- Salt, to taste
- Nori sheets
- Sesame seeds (optional)
- Green onions, chopped (optional)
Directions
- Rinse the sushi rice under cold water until the water runs clear to remove excess starch.
- Cook the rice in a rice cooker or pot with 2 ½ cups of water. Once cooked, let it cool slightly.
- In a bowl, mix the drained tuna with Kewpie mayo and sriracha. Adjust the sriracha based on your preference for spice. Season with salt to taste.
- Wet your hands to prevent sticking. Take a small portion of rice and flatten it in your palm.
- Place a spoonful of the tuna mixture in the center of the flattened rice and shape the rice around it, forming a triangle or ball.
- Wrap each onigiri with a strip of nori.
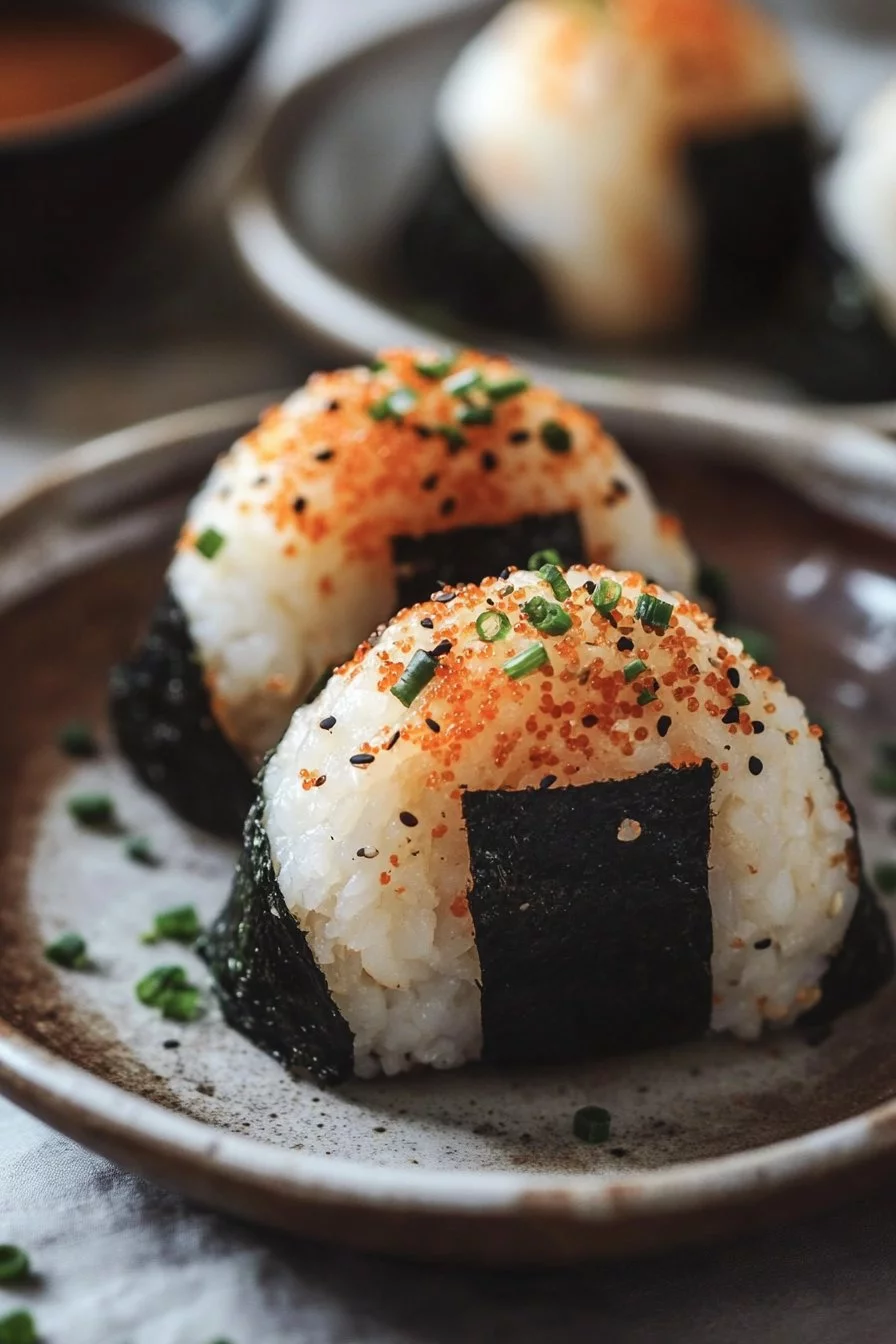
- Optionally, sprinkle with sesame seeds and chopped green onions. Serve as a snack or meal.
Part 2 — Mastering the Technique of Rice Balls
Technique
Making Spicy Tuna Rice Balls is all about mastering the technique. Start with well-cooked sushi rice, which has a slightly sticky texture, allowing it to hold its shape. Wetting your hands is crucial to prevent the rice from sticking, making the molding process smoother.
Shape the rice around the filling gently but firmly. A light touch helps maintain the rice’s integrity, resulting in beautifully shaped balls that hold up during serving. Experiment with the size and shape—triangles are classic, but round balls can be fun and playful.
Wrapping the rice balls in nori not only adds taste and texture but also helps keep everything in place. Make sure to cut the nori into strips for easy wrapping.
Tips/Tricks
To enhance the flavor profile, consider marinating the canned tuna in soy sauce or other seasonings before mixing it into the mayo and sriracha. This small step can elevate your rice balls to new heights.
Don’t hesitate to experiment with different spice levels. If you love heat, add more sriracha, or if you prefer milder flavors, reduce it accordingly. You can also use flavored mayonnaises to give the filling a twist.
Enjoy the creative process! Invite friends or family to join in. Making rice balls can be a fantastic team-building activity where everyone personalizes their rice balls according to their tastes.
Part 3 — Perfecting Your Rice Balls
Perfecting Results
Perfecting your Spicy Tuna Rice Balls involves attention to detail and experimentation. Ensuring that your rice is cooked just right is the first step. Overcooked rice can turn mushy, while undercooked rice may not hold together.
Achieving the perfect consistency in your tuna mixture is equally important. It should be creamy yet firm enough to hold its shape. Balance the mayo and sriracha to create a filling that complements the rice without overwhelming it.
Practice makes perfect. You may not shape every rice ball perfectly on your first try, but each attempt gets better. Don’t shy away from rebooting your recipe by adjusting seasonings, spices, or ratios.
Troubleshooting/Variations
There are a few common issues you might encounter while making rice balls. If your rice is too sticky, consider using slightly less water during cooking next time. This will give your rice a firmer texture.
If you experience trouble shaping the rice around the filling, check your rice’s temperature. It should be warm but not too hot. Too much heat can make it challenging to handle.
Variations allow you to make this dish your own. Instead of tuna, experiment with other canned proteins like salmon or crab. You can even go vegetarian by filling the rice balls with avocado or marinated vegetables.
Part 4 — Serving and Storing Rice Balls
Serving/Presentation
When serving Spicy Tuna Rice Balls, consider adding a touch of creativity to your presentation. Use a bento box for a delightful display or serve on a platter with dipping sauces on the side.
Sprinkle sesame seeds and chopped green onions on top for an added burst of color and flavor. These small details can make a significant difference in how the dish is received at gatherings or quiet meals at home.
Pairings/Storage
Pair these rice balls with refreshing drinks or simple salads. They provide ideal on-the-go snacks or delightful appetizers during gatherings. Rice balls also make an excellent addition to lunch boxes.
Store any leftover rice balls in an airtight container in the fridge. Consume them within a couple of days for the best flavor and texture. If you want to keep them longer, consider freezing them but avoid freezing nori, as it can become soggy upon thawing.
As you prepare Spicy Tuna Rice Balls, keep in mind that every step contributes to flavor and texture. Enjoy the process and the delightful outcome of your culinary adventure!
Print
Spicy Tuna Rice Ball
- Prep Time: 20 minutes
- Cook Time: 30 minutes
- Total Time: 50 minutes
- Yield: 4 servings
- Category: Appetizer
- Method: Baking
- Cuisine: Japanese
- Diet: Pescatarian
Description
Delightful rice balls filled with creamy tuna, sriracha, and sushi rice, offering a taste of childhood nostalgia.
Ingredients
- 2 cups sushi rice
- 2 ½ cups water
- 1 can tuna, drained
- ¼ cup Kewpie mayo
- 1 tbsp sriracha (adjust to taste)
- Salt, to taste
- Nori sheets
- Sesame seeds (optional)
- Green onions, chopped (optional)
Instructions
- Rinse the sushi rice under cold water until the water runs clear to remove excess starch.
- Cook the rice in a rice cooker or pot with 2 ½ cups of water. Once cooked, let it cool slightly.
- In a bowl, mix the drained tuna with Kewpie mayo and sriracha. Adjust the sriracha based on your preference for spice. Season with salt to taste.
- Wet your hands to prevent sticking. Take a small portion of rice and flatten it in your palm.
- Place a spoonful of the tuna mixture in the center of the flattened rice and shape the rice around it, forming a triangle or ball.
- Wrap each onigiri with a strip of nori.
- Optionally, sprinkle with sesame seeds and chopped green onions. Serve as a snack or meal.
Notes
Consider marinating the canned tuna in soy sauce before mixing it for added flavor. Feel free to experiment with spice levels and other fillings.
